Last updated November 18, 2026








Free in-home design visit - walk-in showers, tub-to-shower conversions, and Kohler, Moen, and Delta fixtures planned to your exact space
Bathroom Remodeling Maintenance Checklist for North Las Vegas Homeowners
Most bathroom maintenance advice is written for temperate climates where the air stays damp and the seasons drift gently. North Las Vegas doesn’t work that way. Here, a remodeled bathroom lives between two extremes, sealed up against 110-degree summer afternoons and running the AC hard for months, and that swing puts stress on caulk, grout, and fixtures that a national checklist simply doesn’t account for. Add some of the hardest water in the region and desert dust that finds every gap, and the failure points shift. This guide walks through what actually needs checking in a North Las Vegas bathroom, how often, and why. We’ll cover the water quality angle, the exhaust fan you probably never think about, the supply lines most homeowners ignore, and the warranty steps that quietly expire in year one.
Quick Answer
A North Las Vegas bathroom remodel needs a maintenance routine built around two local forces: extreme temperature swings between indoor cooling and summer heat, and high-mineral water. Inspect caulk and grout every three to four months instead of the annual check a temperate-climate guide suggests, test the exhaust fan quarterly for airflow drop caused by dust, exercise the shutoff valves twice a year, and register every fixture warranty within the first thirty days. If you handle those four things on schedule, you prevent the majority of expensive bathroom failures.
Styles & brands we work with
- Walk-in shower
- Tub-to-shower
- Freestanding tub
- Kohler
- Moen
- Delta
- Frameless glass
Table of Contents
- Why North Las Vegas Climate Stresses a Bathroom
- Hard Water: Cleaning Intervals That Won’t Void a Warranty
- Caulk and Grout Inspection on a Desert Schedule
- Exhaust Fan Checks When Dust Loads the Blades
- Supply Lines and Shutoff Valves: The Task Everyone Skips
- Post-Remodel Warranty Actions Within the First Year
- A Seasonal Maintenance Calendar for North Las Vegas
- Waterproofing Behind the Tile: What to Watch For
Why North Las Vegas Climate Stresses a Bathroom
North Las Vegas homes run two climates inside one envelope. The conditioned rooms stay cool and dry while the sun bakes the exterior walls, and the difference between those two zones creates constant expansion and contraction. A bathroom sits right at the edge of that fight. Tile, caulk, and the framing behind them all move microscopically through the summer, and every one of those tiny cycles works a flexible seal a little harder. In a milder climate, the movement is gentle and slow. Here, it repeats month after month, which is why seals that are expected to last years sometimes give out faster.
The dry air amplifies the effect. Indoor humidity in a cooled North Las Vegas home can be very low, and a hot shower pushes it up sharply and then the AC pulls it back down. That swing is not a comfort issue. It’s moisture moving in and out of grout lines and caulk joints, which is exactly the path that leads to mildew in the corners and loose tiles at the edges.
Whitney and the surrounding North Las Vegas neighborhoods see the same pattern. Homes built for energy efficiency are tight, which is good for the power bill but means moisture has fewer places to escape, so a fan that underperforms has nowhere to send the humid air. We’ve walked through plenty of North Las Vegas bathrooms where the visible problem was a stained grout line and the real cause was trapped moisture that never got out. Understanding that cycle is the foundation for everything else in this checklist.
One more local wrinkle: dust. The desert delivers fine particulate that settles on every horizontal surface and gets pulled into every intake. It coats fan blades, clogs filter screens, and settles into freshly cleaned grout. Left alone, it becomes part of the film that holds moisture against the surface. The maintenance tasks below are timed around these realities rather than a generic national average.
Hard Water: Cleaning Intervals That Won’t Void a Warranty
North Las Vegas water carries a heavy mineral load, and that changes how you clean a bathroom. The white haze on a shower door or a chrome faucet isn’t dirt; it’s calcium and magnesium that precipitate out of the water and bond to the surface. Left alone, it hardens into scale that can pit a finish or stain grout permanently. But scrubbing too aggressively with the wrong product is the other failure mode, and it’s the one that costs you a warranty.
The right rhythm here is more frequent, lighter cleaning. In a hard-water market, a quick wipe-down after each shower does more than a deep scrub once a month, because it removes the minerals before they bond. For the routine, follow this order:
- Wipe or squeegee shower walls and glass after use to break up mineral film before it dries.
- Every week or two, clean fixtures with a mild, pH-neutral bathroom cleaner and a soft cloth or non-abrasive sponge.
- Treat visible scale on glass or tile with a product made for hard-water deposits, following the label’s dwell time rather than scrubbing harder.
- Rinse thoroughly and dry the surface so no cleaner residue sits against a finish.
- For grout, use a soft brush and avoid pushing strong acid cleaners into the joints on a routine basis.
Here’s the part most homeowners miss: manufacturer warranties on premium fixtures often exclude damage from abrasive cleaners, scouring pads, or harsh chemicals. If you’re running Kohler or Grohe fixtures, read the finish-care section of the documentation before you buy a heavy-duty descaler. A scratched or etched finish from an aggressive cleaner is generally not a warranty issue; it’s wear. Match the product to the finish, keep the cleaning gentle and regular, and the fixtures will hold their look far longer in North Las Vegas’s water than they would under a monthly scrub-and-soak routine.
Caulk and Grout Inspection on a Desert Schedule
Temperate-climate maintenance guides tell you to inspect caulk and grout once a year. In North Las Vegas, that interval is too long. The expansion cycles from that indoor-to-outdoor temperature swing work the flexible seal at the tub edge, the shower corners, and where tile meets a fixture, and those joints can open up well before a twelve-month check comes around. A three-to-four-month inspection is the right cadence here. Put it on the calendar with the seasons and you’ll catch a failing bead while it’s still a five-minute fix.
What to look for during the inspection:
- Any gap, crack, or separation where caulk meets tile, tub, or shower pan.
- Caulk that has pulled away in a corner or feels soft and gummy to the touch.
- Grout lines that look darker, crumbly, or hollow when tapped.
- Discoloration at the base of walls or around the shower pan, which can signal moisture behind the surface.
- Loose or hollow-sounding tiles near the floor or in the shower.
A failing caulk joint is a small problem with a large consequence. Water that gets behind a tub surround or a shower wall finds the substrate and stays there, and in a dry climate it can go unnoticed for a long time because the surface dries fast. That’s the trap. The exterior dries, the interior doesn’t, and the damage grows out of sight.
Pay particular attention to the joints around a converted shower. If your North Las Vegas home has gone through a tub-to-shower conversion, those new seams are the highest-stress points in the room because the waterproofing layers need to stay intact and sealed. Getting the details right the first time is what keeps a conversion sound; the wrong seal around a shower pan is one of the costliest issues to correct later. Check those joints on the short interval, and if a seal is consistently failing in the same spot, that’s a sign to have it looked at rather than recaulked again.
Exhaust Fan Checks When Dust Loads the Blades
An exhaust fan that’s running doesn’t mean it’s moving air. Desert dust loads fan blades and screens far faster than in wetter climates, and as the blades get coated, the fan spins but the airflow drops. That matters because the fan’s whole job is to pull humid air out of the bathroom before it condenses on cool surfaces. A fan that’s quietly lost half its capacity leaves moisture behind after every shower, and the damage shows up later as mildew and failing caulk.
Run this check every three months:
- Turn the fan on and hold a piece of tissue or toilet paper near the grille. If it doesn’t pull the tissue and hold it, airflow is weak.
- Cut the power at the switch (or breaker for a hardwired fan) and remove the grille.
- Wipe dust off the blades and housing with a damp cloth, and clear the grille’s slots.
- Inspect the duct connection where it leaves the housing for gaps or disconnected flex duct.
- Restore power and recheck the tissue test.
If it still won’t hold the tissue after cleaning, that’s your signal. Dust loading is one cause of airflow drop, but a fan can also fail because the motor is tired, the duct is crushed or undersized, or the flapper at the roof or wall vent is stuck. In a tight, well-sealed North Las Vegas home, a bathroom fan that dumps its humid air into the attic instead of outside is worse than no fan at all, because the moisture lands on framing rather than being vented away. Check the exterior vent flap when the fan runs; it should swing open freely. If the fan is old, noisy, or never seems to clear the mirror, replacement is usually the better answer than repeated cleaning, and it’s worth sizing the new fan to the room rather than grabbing the same model again.
Supply Lines and Shutoff Valves: The Task Everyone Skips
If there’s one maintenance task North Las Vegas homeowners skip more than any other, it’s the water supply lines behind the toilet and under the sink. These are the small braided or plastic hoses that carry water to the fixtures, and they’re connected to shutoff valves that often sit untouched for years. Over time, the rubber inside a supply line can degrade, the fittings can loosen, and a valve that hasn’t turned in a while can seize or start to weep when you finally need it. A burst supply line is one of the most expensive things that can happen in a bathroom, because it can run for a long time before anyone notices.
Twice a year, walk the room and check:
- Every supply line for bulging, cracking, stiffness, or corrosion at the fittings.
- Each shutoff valve, turning it off and back on gently to confirm it moves and the connection stays dry.
- The base and back of the toilet tank for slow leaks or a weeping connection.
- The cabinet under the sink for dark stains, warping, or soft wood from a slow drip.
- The fitting where the water enters the shower or tub valve, if it’s accessible.
Exercise each shutoff valve by turning it closed, then open again, so it stays free. Turn the water off at the valve before inspecting a line closely, and if you find a bulging or cracked line, shut off the supply and have it replaced rather than wrapping it. A flexible supply line is inexpensive and easy to swap; the damage from one that fails is neither. In our experience, this two-minute check twice a year prevents more real water damage than any other item on this list. If your bathroom was recently remodeled, ask whether the shutoff valves behind the fixtures are new or original. Old valves feeding new fixtures are a mismatch, and replacing them during the project is far easier than dealing with them after.
Post-Remodel Warranty Actions Within the First Year
A finished bathroom can leave you fully protected or entirely unprotected, and the difference is a set of small actions most homeowners never take. Manufacturer warranties on fixtures and waterproofing products often require registration, and they may limit coverage when installation documentation is missing or a product is used incorrectly. The window to act is generally the first year, and it starts at the end of the project, not when something breaks.
Complete these steps right after the remodel wraps up:
- Collect the model and serial numbers for every fixture: faucets, showerheads, toilet, valve trim. Photograph the labels while they’re accessible.
- Register each product with the manufacturer if the brand requires or allows it, and keep the confirmation with your paperwork.
- Keep the product literature for finish-care instructions, because the wrong cleaner can void coverage.
- Save the invoice and written estimate, and file any waterproofing and installation documentation your contractor provided.
- Note the date each warranty window opens so you know when it closes.
- Store everything together, either a labeled folder or a scanned copy in the cloud.
This matters more than it sounds like it should. If a ceramic cartridge in a Kohler faucet fails in the second year, a registered warranty can mean a free replacement part. Without the paperwork, you’re buying it. The same goes for waterproofing products. A Schluter waterproofing system’s reputation rests on being installed correctly, and keeping the documentation on hand is how you protect that investment if a question ever comes up. For entry-level fixtures like Sterling by Kohler, the finish and function are engineered to a quality standard, and the warranty behind them is worth capturing just the same as a premium piece. When the paperwork is in one place, the first year closes with you fully covered.
A Seasonal Maintenance Calendar for North Las Vegas
A seasonal calendar does the mental work for you, and it lines up the heaviest checks with the local conditions that cause the most wear. Here’s how the year breaks down for a North Las Vegas bathroom.
Spring, before the heat. This is the deep-clean season. Descend the fixtures with a mild, hard-water-appropriate cleaner, examine every caulk and grout joint after the winter, and confirm the exhaust fan pulls the tissue. Spring is also a good time to check the supply lines and valves, since the cooling season is about to start and the AC will be running almost constantly.
Summer, the stress season. This is when the temperature swing between the cooled interior and the desert heat is largest. Inspect caulk joints mid-summer rather than waiting, keep up the wipe-down routine on hard-water surfaces, and listen for a fan that seems to struggle. Check for condensation on fixtures or walls during this stretch, because it signals moisture the fan isn’t clearing.
Fall, the reset. Clean the fan again after a summer of dust, re-inspect grout in the shower and around the tub, and turn the shutoff valves. This is also a good time to re-read any warranty documentation that’s about to expire and to schedule anything that’s been looking suspicious.
Winter, the quiet check. With the heater running and the air even drier, grout and caulk are most prone to hairline cracking. Do a light inspection, check the toilet and sink connections one more time, and restock your gentle cleaning supplies so you’re ready for spring.
Each season’s work takes an hour at most. Done on schedule, this calendar keeps a North Las Vegas bathroom in good shape without ever becoming a project.
Waterproofing Behind the Tile: What to Watch For
The most important layer in any bathroom is buried behind the tile, and you’ll never see it until something has gone wrong. In a North Las Vegas bathroom, the dry air makes that layer easy to forget, because the visible surfaces dry quickly and seem fine. The warning signs that moisture is getting behind the tile are subtle, and they’re worth knowing by sight.
- Grout that cracks repeatedly in the same spot no matter how often it’s repaired.
- Tile that sounds hollow when tapped, especially at the shower floor and lower walls.
- Caulk that pulls away from the same corner each time it’s redone.
- A musty smell that returns even after cleaning.
- Soft or swollen spots in drywall on the other side of the shower wall.
Any of these warrant a closer look rather than another round of caulk. If your remodel used a Schluter waterproofing system, that’s a real advantage: the system is engineered to keep water away from the substrate, and knowing the products behind the tile helps anyone diagnosing a problem do it faster. For a bathroom that’s headed toward a full remodel, or a walk-in shower installation where waterproofing is the whole game, the substrate work is where quality either holds or fails. North Las Vegas bathrooms rebuilt with professional-grade waterproofing behind the tile hold up better through our climate swings than ones assembled without it, and the difference is invisible until it isn’t.
Common Mistakes to Avoid
- Cleaning hard-water scale with a harsh acid on a routine basis. It eats into the finish on premium fixtures over time, and finish damage from aggressive cleaners often isn’t covered. Use gentle, regular cleaning and reserve stronger products for labeled hard-water use.
- Treating caulk as a once-a-year task. The North Las Vegas temperature swing shortens caulk life, so a yearly check lets failing joints sit open far longer than they should. Inspect every three to four months.
- Assuming a running fan is doing its job. Desert dust loads the blades and cuts airflow without any change in sound. Test with the tissue check and clean the grille on schedule.
- Never touching the shutoff valves. A valve that hasn’t moved in years can seize or weep when you need it most. Exercise them twice a year and inspect the supply lines while you’re there.
- Skipping warranty registration after the remodel. Without model numbers, registration, and documentation, you lose coverage on parts that would otherwise be free. File it all within the first month.
- Recaulking a shower corner that keeps opening up without investigating. Repeated failure at the same seam can mean moisture is moving behind the tile. It needs a look, not another bead.
- Venting a fan into the attic instead of outside. It moves the moisture problem to the framing, where it’s harder to spot. Confirm the flap outside the house actually opens when the fan runs.
See the difference
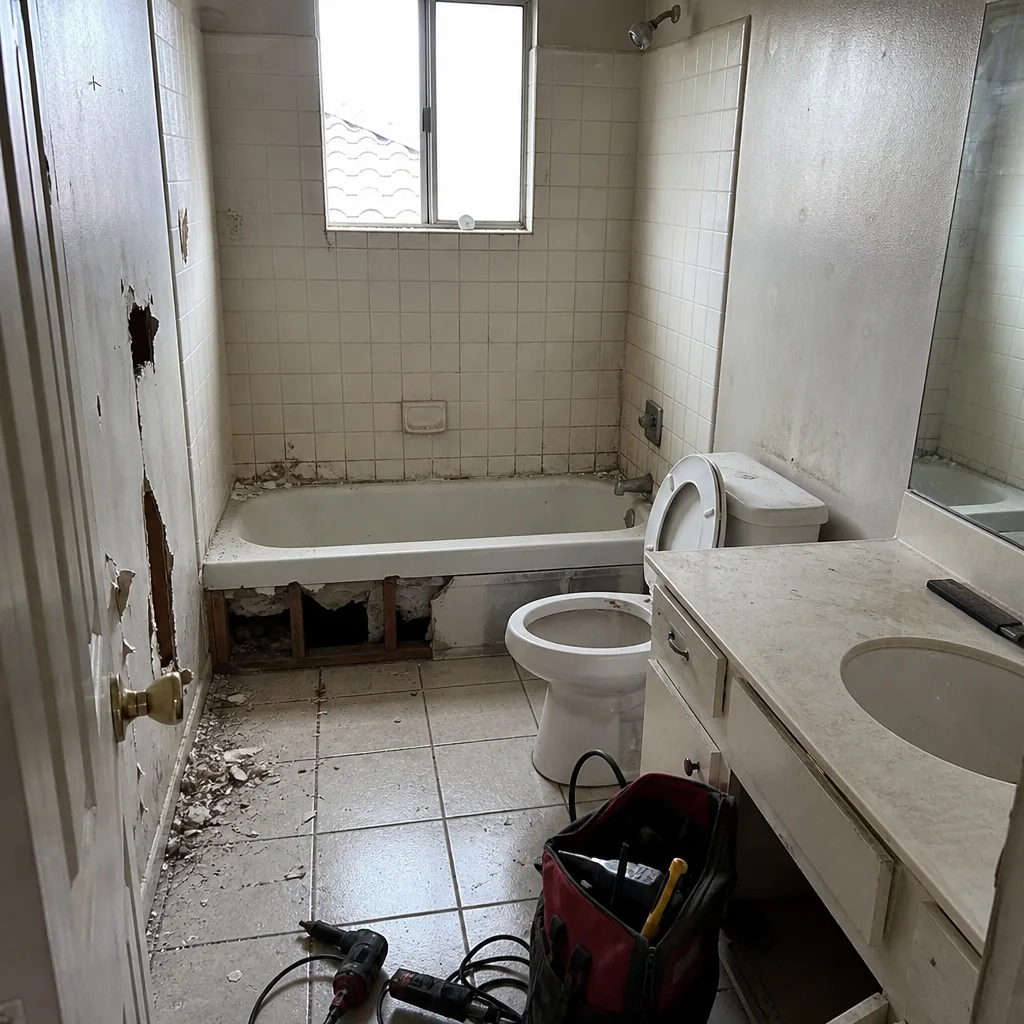 Before
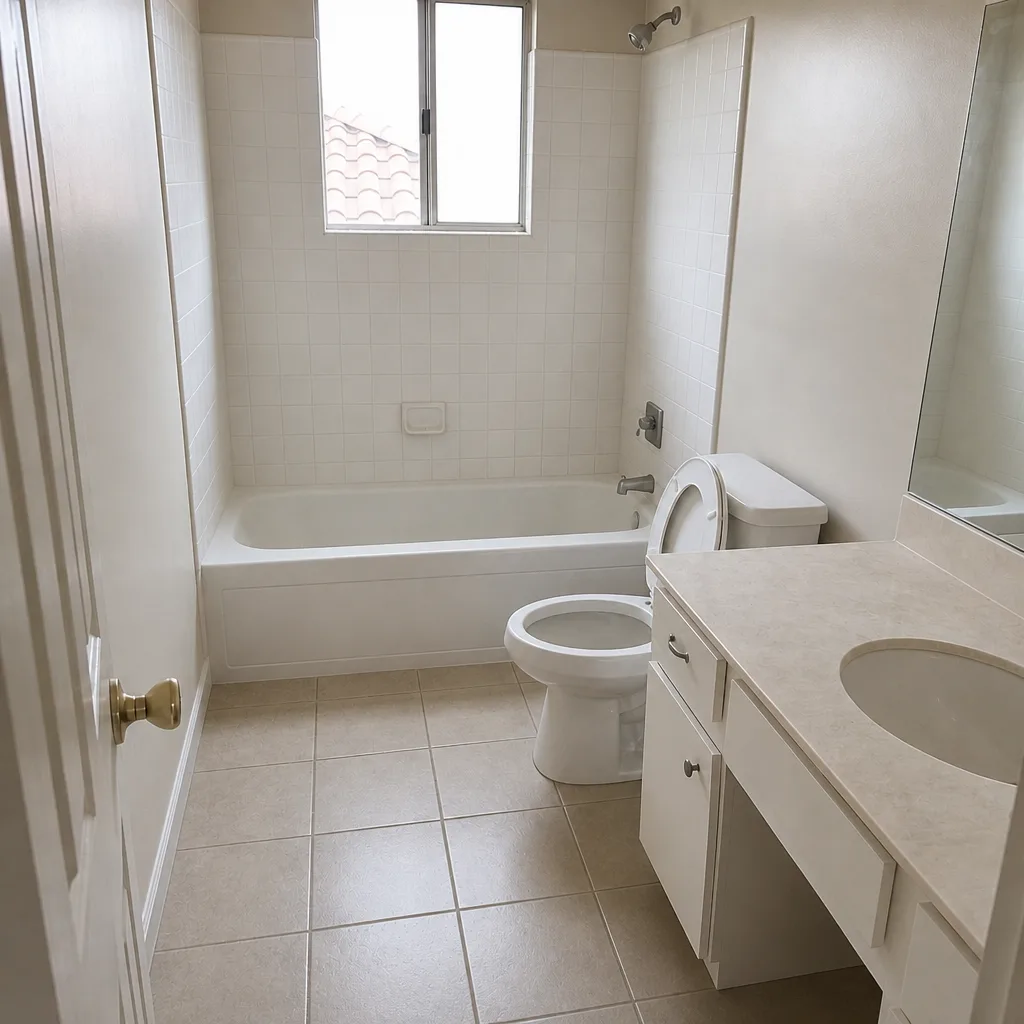 After
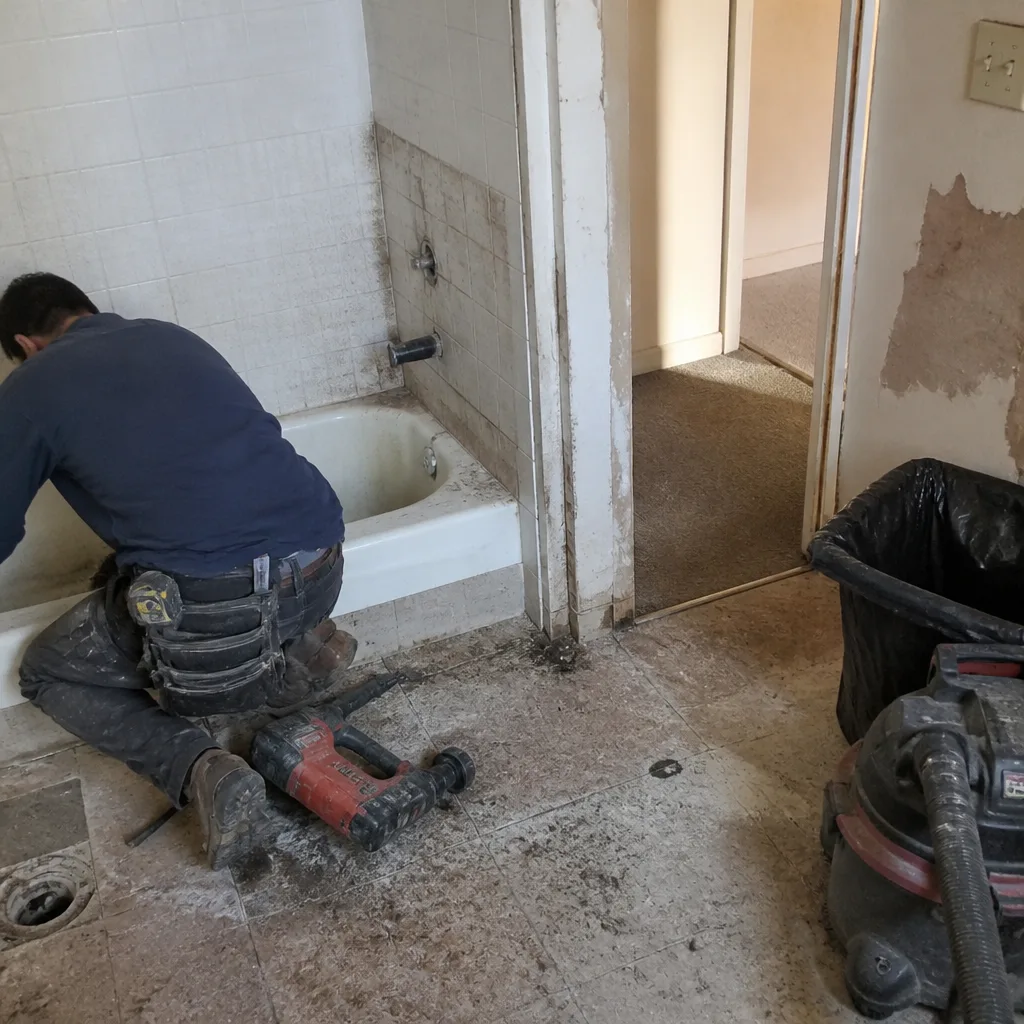 Before
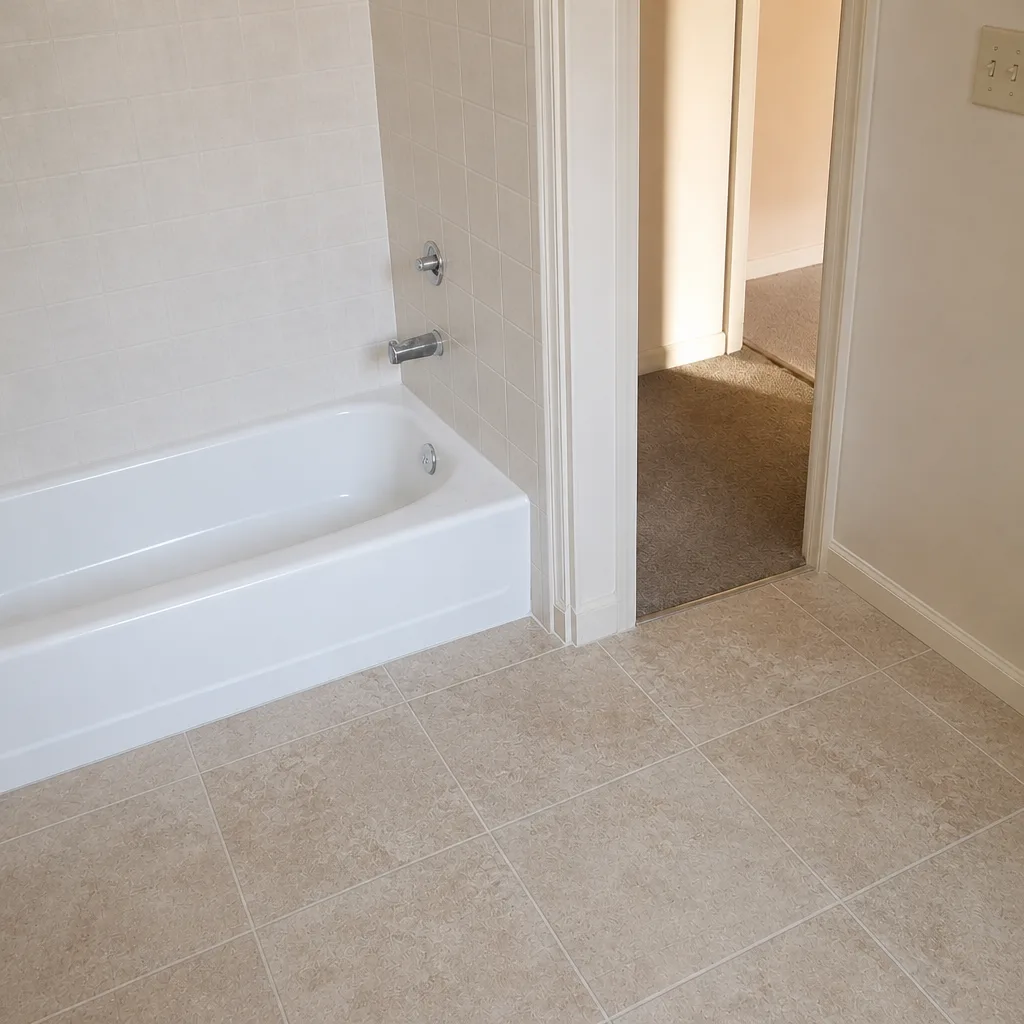 After
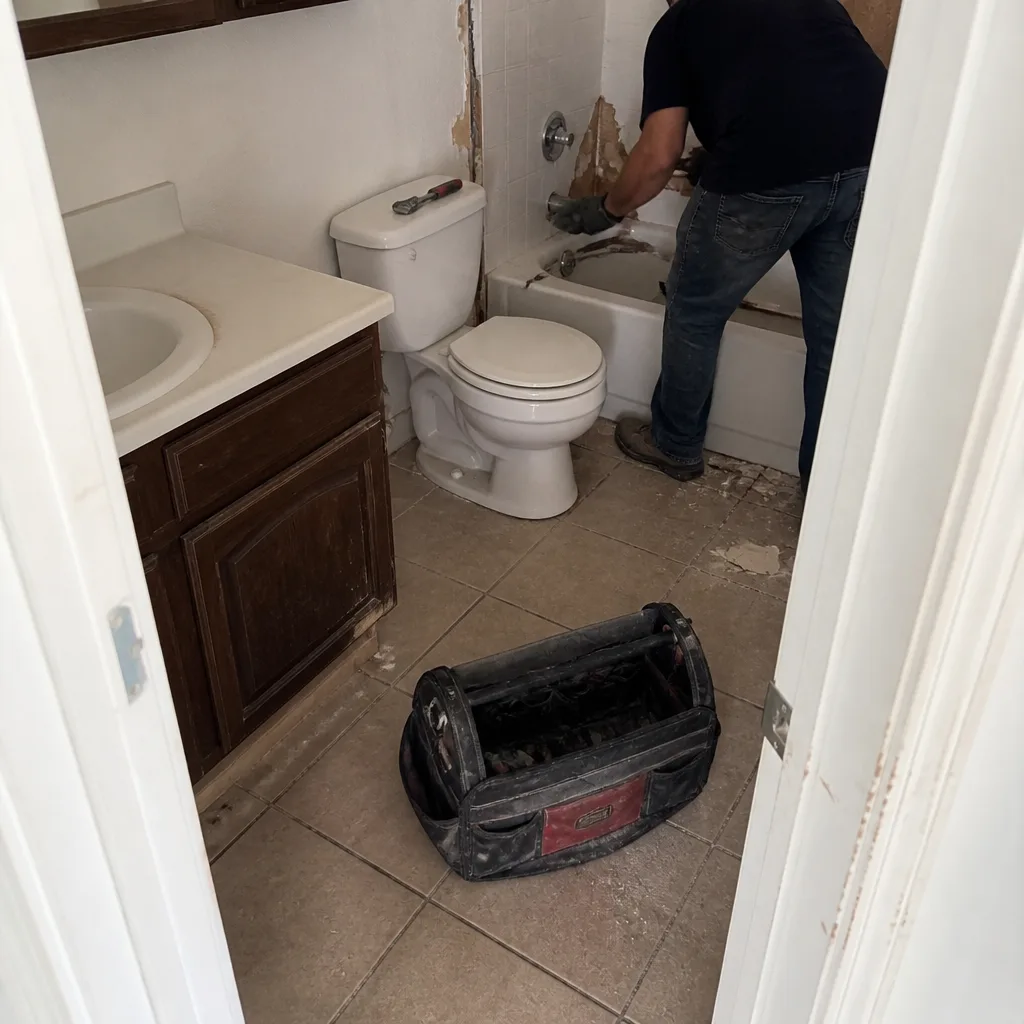 Before
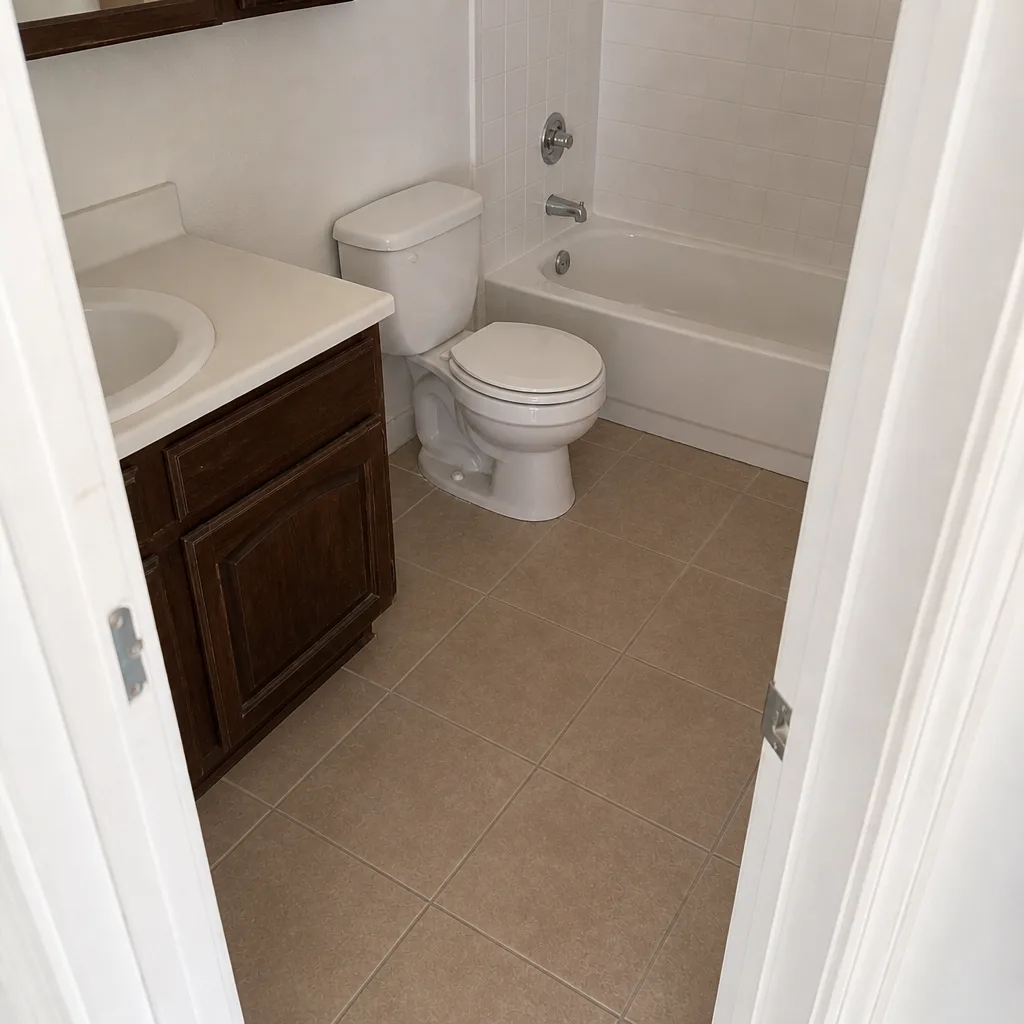 After
When to Call a Professional
Some items on this checklist are genuinely a homeowner’s work: wiping down a shower, cleaning a fan grille, exercising a shutoff, filing warranty paperwork. Others call for a trained professional. Recurring caulk or grout failure in the same spot, hollow-sounding tile, a musty smell that returns after cleaning, an exhaust fan that won’t hold a tissue after a thorough cleaning, or supply-line and valve work beyond a simple visual check all deserve a pro’s eye. The same goes for any sign of moisture behind the tile, because diagnosing it correctly is the difference between a small repair and a rebuild. For these, Bathroom Remodeling North Las Vegas offers free estimates in North Las Vegas – call (844) 834-0636. Our technicians have up to 9 years of experience, and we specialize in full bathroom remodeling, walk-in showers, and tub-to-shower conversions.
Frequently Asked Questions

Every three to four months is the right interval in North Las Vegas, rather than the once-a-year check you’ll see in temperate-climate guides. The wider temperature swing between cooled interiors and summer heat works caulk and grout joints harder, so they open up sooner. Call (844) 834-0636 for an exact quote if you find a joint that keeps failing – estimates are free.
Dust on the blades is the most common cause of airflow loss in this climate, so clean the grille and blades first and then repeat the tissue test. If it still won’t pull the tissue, the motor, duct, or exterior flapper may be the problem. Have a technician check it if cleaning doesn’t restore airflow. Call (844) 834-0636.
Yes, if scale is left to build up and aggressive cleaners are used to remove it. Mineral deposits can pit a finish, and abrasive cleaners or scouring pads can scratch chrome and premium finishes; both can affect warranty coverage. Clean gently and regularly with products made for hard water. For fixture replacement or a remodel, call (844) 834-0636.
Inspecting and replacing water supply lines, and exercising the shutoff valves, prevent the most costly damage because a failed line can leak for a long time. Check the lines under the sink and behind the toilet twice a year for bulging, cracking, or corrosion. If a line or valve looks bad, have it replaced before it fails. Call (844) 834-0636 for a free estimate.
Register each fixture and file the model numbers, documentation, and finish-care instructions within the first month after the project wraps up. Registration and paperwork are often what keep a warranty valid, and missing them can leave you paying for parts that would have been covered. If you’re planning a remodel with Kohler, Grohe, or Sterling fixtures, call (844) 834-0636 for a free estimate.
Most cities require a permit for work that changes plumbing or a shower or tub configuration, so ask your city’s building department before the job starts. A permitted project keeps the work on record and protects you when it’s time to sell. Bathroom Remodeling North Las Vegas handles permits and inspection requirements for its shower and conversion work. Call (844) 834-0636.
The Bottom Line
A North Las Vegas bathroom doesn’t need more maintenance than one anywhere else; it needs the right maintenance on the right schedule. The temperature swing and the hard water here shorten the life of caulk, grout, and finishes, so check those every few months and clean gently rather than aggressively. Dust loads the exhaust fan faster, so test airflow quarterly. And the two tasks everyone skips, supply lines and warranty registration, are the ones that protect you from the biggest costs. Keep the seasonal calendar, watch for the waterproofing warning signs, and call a pro when a problem repeats. Those habits keep a remodeled North Las Vegas bathroom working the way it should for years.
If you want a specialist to look at a problem, plan a walk-in shower, or take on a full bathroom remodeling North Las Vegas project, we’re glad to help. We focus only on bathroom remodeling, so every job gets a bathroom-specific crew. Learn more about walk in shower installation, or see what a bathroom remodel looks like in Whitney.
Call (844) 834-0636 for a free estimate. We answer 24/7. Fast dispatch from 7am to 7pm, Sunday through Friday.
Written by the team at Bathroom Remodeling North Las Vegas.