
Last updated November 18, 2026








Free in-home design visit - walk-in showers, tub-to-shower conversions, and Kohler, Moen, and Delta fixtures planned to your exact space
Bathroom Remodeling Maintenance Schedule: What to Do and When
Low humidity feels forgiving. It’s the reason so many homeowners in the desert Southwest assume their bathroom will hold up better than it would in a wet climate. The opposite is closer to the truth. In a North Las Vegas bathroom, caulk doesn’t mold out slowly the way it does near the coast. It dry-cracks, pulls away from the tile edge, and opens a hairline gap you won’t notice until water has already been working behind the wall for months. The same dry air that protects your grout from mildew makes your sealant brittle and your waterproofing harder to read from the surface. What follows is a real maintenance calendar for a bathroom in this climate: month by month, brand by brand, built around hard water, dry air, and the specific conditions a North Las Vegas home actually faces.
Quick Answer
A bathroom remodel in North Las Vegas needs a light monthly inspection, a twice-yearly deep task (exhaust fan cleaning and airflow check), annual grout sealing and caulk evaluation, and full resealing or recaulking every three to five years depending on hard-water buildup. Fixtures need brand-specific care – Moen, Delta, American Standard, and Toto each have maintenance requirements that protect the warranty. Follow the schedule and a quality remodel stays sharp for 15-plus years; skip it and you’re regrouting in five.
Styles & brands we work with
- Walk-in shower
- Tub-to-shower
- Freestanding tub
- Kohler
- Moen
- Delta
- Frameless glass
Table of Contents
- Why a North Las Vegas Bathroom Ages Differently
- The Monthly Walk-Through: What to Check in Ten Minutes
- The Bi-Annual Task That Prevents the Most Expensive Moisture Problem
- Annual Grout Sealing and the Hard-Water Reality
- Caulk: The Dry-Crack Problem and How to Read It
- Inspecting Your Waterproofing Membrane Without Demo
- Fixture-Specific Maintenance by Brand
- When to Call a Professional
Why a North Las Vegas Bathroom Ages Differently
Most maintenance advice you’ll find online was written for a house somewhere humid, where the enemy is mold and the calendar is built around keeping things dry. North Las Vegas runs the other way. Relative humidity here sits low most of the year, and the water coming out of the tap is hard enough to leave visible scale on glass and fixtures within weeks of a fresh install. Those two facts change what breaks and when.
Low humidity pulls moisture out of flexible sealants. Caulk and silicone are formulated to stay slightly elastic, and dry air accelerates the stiffening that turns them brittle. A bead that would mold out in three or four years in a damp climate might dry-crack in half that time here, and because there’s no discoloration to warn you, the failure is invisible until it isn’t. Hard water adds a second layer of wear. Every shower leaves mineral deposits on tile, glass, and fixture finishes, and those deposits etch and dull surfaces if they’re allowed to build up.
Desert heat matters too. Interior temperatures in a North Las Vegas home can swing widely between a cool interior and an exterior wall that bakes through the afternoon, and that movement works on the joints between tile, drywall, and framing. Thermal expansion is gentle, but it’s relentless, and it’s one reason a professionally waterproofed assembly matters. When we handle a Bathroom Remodeling North Las Vegas project, the waterproofing behind the tile – Schluter Systems membrane and the substrate work that goes with it – is what absorbs that movement without letting water find a path in. The maintenance schedule below is built to protect that investment.
One more local factor: dust. Desert dust settles on every horizontal surface, including the top of your exhaust fan grille, the track of a shower door, and the ledge behind the toilet. Dust mixed with shower humidity becomes a mild film that holds moisture against surfaces and feeds the slow buildup that grout and caulk don’t like. A quick wipe-down is a maintenance task here, not just a cosmetic one.
The Monthly Walk-Through: What to Check in Ten Minutes
Once a month, spend ten minutes looking at your bathroom the way a technician would. This isn’t a deep clean. It’s a fast inspection built for the climate, designed to catch the small failures that turn into expensive ones. In our experience, homeowners who do this simple walk-through catch almost every problem while it’s still a five-minute fix.
- Run a finger along the caulk at the tub or shower base. You’re feeling for gaps, hardness, or a bead that pulls away from the wall. Any of those means it’s time to address it.
- Look at the grout lines on the shower floor and the lower walls. Darkened lines, crumbling joints, or a change in color point to moisture getting where it shouldn’t. Recoloring in a vertical line above the base is worth a closer look.
- Check the base of the toilet for wobble or water staining. A rock-solid toilet shouldn’t move at all. Any movement stresses the wax ring and the seal under it.
- Wipe the exhaust fan grille. Dust loading here reduces airflow more than most people realize, and airflow is the whole point of the fan.
- Squeegee or towel-dry the shower glass after the last shower of the day. Thirty seconds here is the single most effective thing you can do for hard-water buildup in North Las Vegas.
- Wipe the fixture finishes with a soft cloth and plain water. No abrasive cleaners on any plated or brushed finish. More on that below.
- Look up. Ceiling stains, peeling paint, or bubbling above the shower are early signs of a ventilation issue.
Ten minutes, once a month. That’s the whole task. Pair it with a monthly wipe-down of the shower walls and you’ve handled the two things desert bathrooms punish most: dry-cracked sealant and mineral buildup.
The Bi-Annual Task That Prevents the Most Expensive Moisture Problem
Twice a year, clean your exhaust fan and verify it’s actually moving air. This is the single most important maintenance task in a desert bathroom, and it’s the one almost everyone skips. The reason is simple: bathroom moisture has to go somewhere. If the fan isn’t pulling, that moisture condenses on cooler surfaces – inside walls, above the ceiling, behind tile – and the damage it does is the most expensive kind to fix because you can’t see it until it’s advanced.
In a dry climate it’s easy to assume the fan doesn’t matter much. But a shower puts a large volume of water vapor into the air in a short time, and low ambient humidity means the air will readily take it up – if it’s moving. A fan that’s dust-loaded, or that’s venting into the attic instead of outside, defeats that. Here’s the bi-annual routine:
- Turn the fan off at the switch or breaker. Never clean a fan with power to it.
- Remove the grille. Most pop off with a firm pull or a couple of spring clips. Check your manufacturer’s instructions.
- Vacuum the blades and housing with a brush attachment. Dust buildup on the blades is the most common cause of reduced airflow.
- Wipe the grille and let it dry fully before reinstalling.
- Do the tissue test. Turn the fan back on and hold a single square of toilet paper near the grille. If the fan holds it against the grille, it’s moving air. If it drops, airflow has fallen off and the fan needs attention or replacement.
- Confirm the vent terminates outside. In the attic, a duct that ends in the insulation just dumps moisture into the attic. It should run to an exterior wall or roof cap.
If your fan is old, noisy, or fails the tissue test even after cleaning, that’s a sign to upgrade. A modern fan rated for the square footage of your bathroom does more for moisture control than any other single change. When we plan a bathroom remodeling project, ventilation sizing is part of the scope, not an afterthought – it’s cheaper to get right during the remodel than to fix later.
Annual Grout Sealing and the Hard-Water Reality
Seal your grout once a year. In a North Las Vegas bathroom, this isn’t optional advice – hard water makes it non-negotiable. Grout is porous, and the minerals in hard water will find that porosity and settle in. Once scale builds inside the grout lines, it’s difficult to remove, and the grout starts to look permanently dingy even after a deep clean. A good sealer slows that process dramatically by keeping water at the surface where it can evaporate.
The type of sealer matters, and the climate changes the recommendation. In a low-humidity environment, a penetrating solvent-based sealer generally outperforms a water-based film former. Penetrating sealers soak into the grout and leave the surface breathable, so any moisture that does get in can still escape. Film-forming sealers sit on top, and in a dry climate they tend to crack and peel as they age, leaving you with patchy protection. Ask what’s being used, and if it’s a film former, understand that you’ll be reapplying sooner.
How to Tell If Your Grout Needs Sealing
The water-drop test is the simple answer. Drip a small amount of water onto a grout line in an out-of-the-way spot. If it beads up and sits on the surface, the sealer is still working. If it soaks in and darkens the grout, it’s time to reseal. In a hard-water climate, check every six months even if you seal annually, because mineral deposits can mask a worn sealer.
What Annual Sealing Looks Like
- Clean the grout thoroughly first. Sealer won’t bond to scale, soap film, or dust.
- Let the grout dry completely – longer in a dry climate than a humid one, because surface dryness and full dryness aren’t the same thing.
- Apply the sealer per the manufacturer’s directions, working it into the lines.
- Wipe the excess off the tile face before it cures.
- Keep the area dry for the cure window on the label.
Epoxy grout, which some remodels use, doesn’t need annual sealing. If you’re not sure what you have, a walk in shower specialist can tell you in a few minutes.
Caulk: The Dry-Crack Problem and How to Read It
This is the failure mode specific to your climate. In humid regions, caulk fails by molding – the bead turns black and you replace it. Here, caulk fails by drying out and cracking, and there’s no discoloration to warn you. The bead hardens, pulls loose from the tile edge or the tub rim, and leaves a hairline gap. Water gets behind it quietly, and the first sign you’ll have is a soft spot in the drywall or a stain on the ceiling below.
So check caulk differently than the national guides tell you to. Instead of looking for mold, test for flexibility and adhesion:
- Press a fingernail into the bead. It should feel slightly rubbery. If it’s hard or crumbly, it’s failed even if it looks intact.
- Run a fingertip along the edge where caulk meets tile or tub. Any place the bead lifts away is a gap, however small.
- Look for fine surface cracks along the length of the bead. Those cracks are the tell in a dry climate.
Plan on evaluating caulk twice a year and recaulking the high-use joints – the tub-to-wall line, the shower base perimeter – every three to five years. If you notice a failed bead, don’t wait. Remove the old caulk fully, clean and dry the joint, and apply a fresh bead of 100% silicone. Silicone flexes better than latex in a dry climate and holds up to the movement that happens at joints.
One more note on reading your caulk: if you see any softness, sponginess, or discoloration on the drywall or backer board next to a failed bead, stop and get it looked at. That’s likely a sign water has already been behind the joint, and it needs a professional eye, not a fresh bead of silicone over the top. We see this pattern often enough that we walk every North Las Vegas customer through it before a project is even scoped.
Inspecting Your Waterproofing Membrane Without Demo
You can’t see the waterproofing membrane behind your tile. That doesn’t mean you can’t assess whether it’s doing its job. The membrane is a barrier, and a barrier that’s working leaves no evidence of failure. A barrier that’s failing leaves clues at the surface, if you know what to look for. This is one of the most valuable things we teach homeowners, because catching a membrane issue early is the difference between a small repair and a full tile demo.
Here’s what to check, quarterly:
- Look for efflorescence on the grout. That chalky, whitish haze on grout or tile edges is mineral salt pushed to the surface by moisture moving through the assembly. It doesn’t always mean a membrane failure, but it’s a reason to look closer.
- Check for soft or hollow-sounding tile. Tap gently across the shower floor and the bottom rows of wall tile. A dull, hollow sound instead of a sharp tap can indicate a tile that’s debonded, which often means moisture underneath.
- Watch the base perimeter after every shower. Any dampness, darkening, or staining at the caulk line or on the floor just outside the shower is worth noting.
- Look below and beside the bathroom. Ceiling stains in the room below, baseboard warping on a shared wall, or bubbling paint on the other side of a wall are how a hidden membrane leak reveals itself.
- Note any persistent musty smell that doesn’t clear when the bathroom is well-ventilated. In a dry climate it’s less common, which makes it more meaningful when it happens.
Schluter Systems bonded waterproofing is what we use in North Las Vegas installs for exactly this reason – it creates a continuous, reliable barrier that doesn’t rely on surface sealants to keep water where it belongs. If your quarterly checks turn up any of the signals above, get a professional assessment rather than a cosmetic patch. The whole point of the membrane is that it’s the layer you never see; catching its failures at the surface is the only way to protect the work behind the tile.
Fixture-Specific Maintenance by Brand
Every fixture brand in your bathroom has its own care requirements, and skipping them can void the warranty. That’s worth repeating: some of the cleaning products sold as bathroom staples will damage certain finishes, and a finish that fails from improper care is a warranty claim the manufacturer can decline. Because we work with eight fixture brands – Kohler, Moen, Delta, American Standard, Toto, Schluter, Sterling, and Grohe – we’ve seen which maintenance routines protect each one and which one-size advice doesn’t fit.
Moen
Moen finishes are generally durable but sensitive to abrasive cleaners. Wipe with a soft cloth and mild soap, and avoid anything with bleach or ammonia on the finish. Moen’s cartridges are the part most likely to get attention over the years – if a faucet starts to drip or stiffen, the cartridge is usually the fix, and knowing the model makes that a quick job. Sign up for the manufacturer’s care guidance at purchase; it’s more specific than generic bathroom advice.
Delta
Delta’s finishes also respond well to mild soap and water. On the shower side, keep the glass and any metal trim towel-dried to slow hard-water spotting. Delta valve cartridges can be serviced if a temperature issue shows up; note the model when you install so a replacement is straightforward. Avoid scrubbing pads – even the “non-scratch” kind can dull a brushed finish over time.
American Standard
American Standard toilets have specific expectations around the flush valve and the fill valve. If you hear phantom fills or the tank keeps running, those are the two parts to check first. Don’t use drop-in tank cleaners on any toilet – they sit in the tank water and can degrade the rubber parts. Clean the bowl with the manufacturer’s recommended product instead.
Toto
Toto toilets deserve specific care. Their bowl coating is a big part of why they stay clean, and abrasive cleaners wear it down over time. Stick to a mild cleaner designed for the finish; a heavy acid or a scrub brush defeats the coating’s purpose. Toto’s high-efficiency designs are also sensitive to the fill and flush mechanics, so if performance drops, service the valve rather than adding water to the tank.
The Universal Rules
- No abrasives – no scouring powder, no steel wool, no aggressive pads.
- No bleach or ammonia on plated or brushed metal finishes.
- Wipe fixtures dry after use. It’s faster than scrubbing hard water later.
- Register your products at purchase and keep the model numbers. Warranty service is much easier when you have them.
- Read the care sheet that ships with each fixture. It’s brand-specific for a reason.
If you’re upgrading fixtures as part of a project, the brand you choose is a maintenance decision as much as a style one. A specialist working with the right brand range can match the fixture to how you actually live. That’s part of what we mean by Whitney homeowners getting a bathroom built for real life.
Common Mistakes to Avoid
- Waiting for mold to tell you the caulk has failed. In North Las Vegas, caulk fails by drying and cracking long before it molds. If you’re waiting for black spots, you’ll miss the real warning signs. Check for hardness and adhesion instead.
- Skipping the exhaust fan because “it’s dry here.” Low humidity makes it easier to ignore the fan, but a shower still puts a lot of water vapor into the air. A dust-loaded fan is the most common cause of the moisture problems we see.
- Using abrasive cleaners on fixtures. Scouring pads and harsh cleaners dull finishes and, on Toto and American Standard products especially, wear down coatings that manufacturers expect you to preserve. That’s a warranty risk, not just a cosmetic one.
- Assuming the grout sealer lasts forever. Hard water masks a worn sealer, so test it with a water drop every six months. Annual resealing is the baseline in this climate.
- Putting a fresh bead of caulk over a failed one. New caulk won’t bond to old caulk or to a damp joint. It looks fine for a few weeks and then fails again, which means the water problem was never solved.
- Ignoring efflorescence and hollow-sounding tile. Both are surface signals that something is happening behind the tile. A cosmetic patch hides the symptom; it doesn’t fix the cause.
- Using drop-in toilet tank cleaners. These are convenient and quietly destructive to the flush valve rubber on any toilet, including American Standard and Toto models. Clean the bowl instead.
See the difference
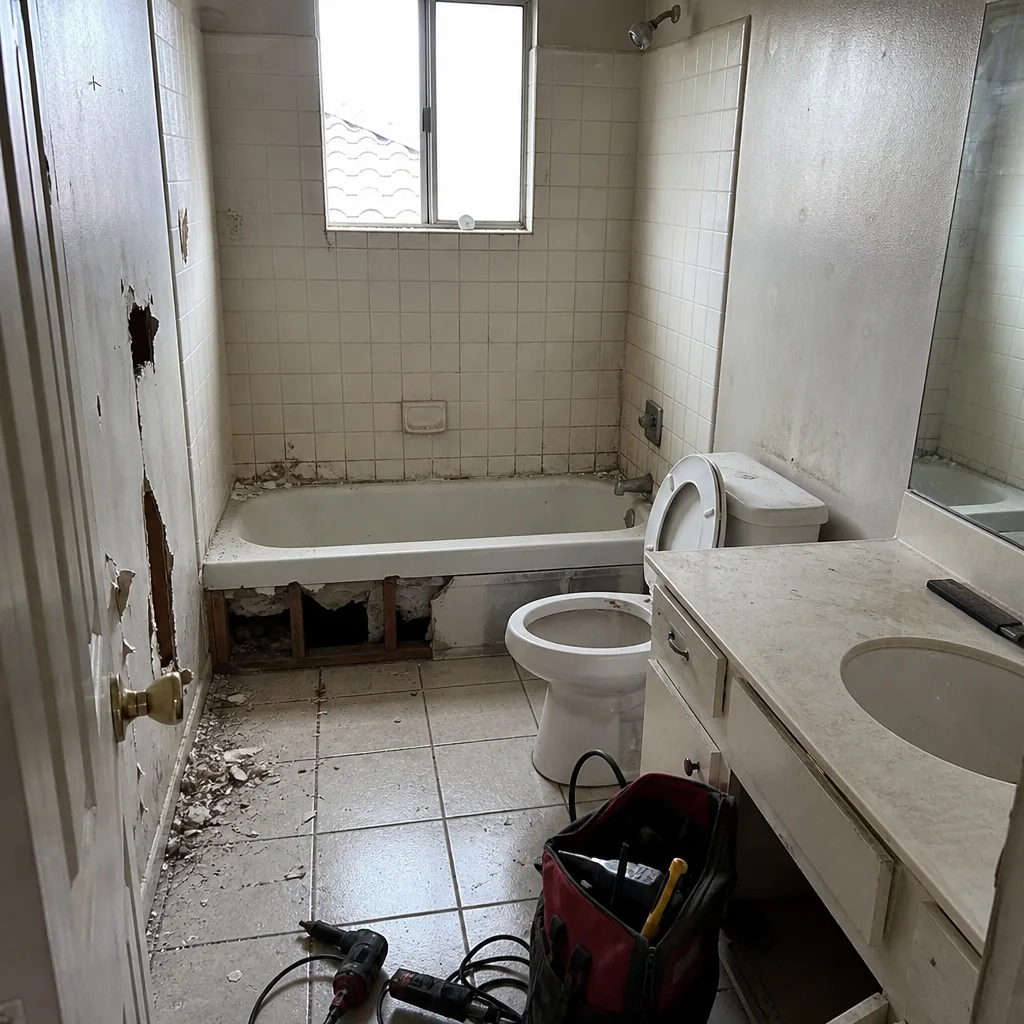 Before
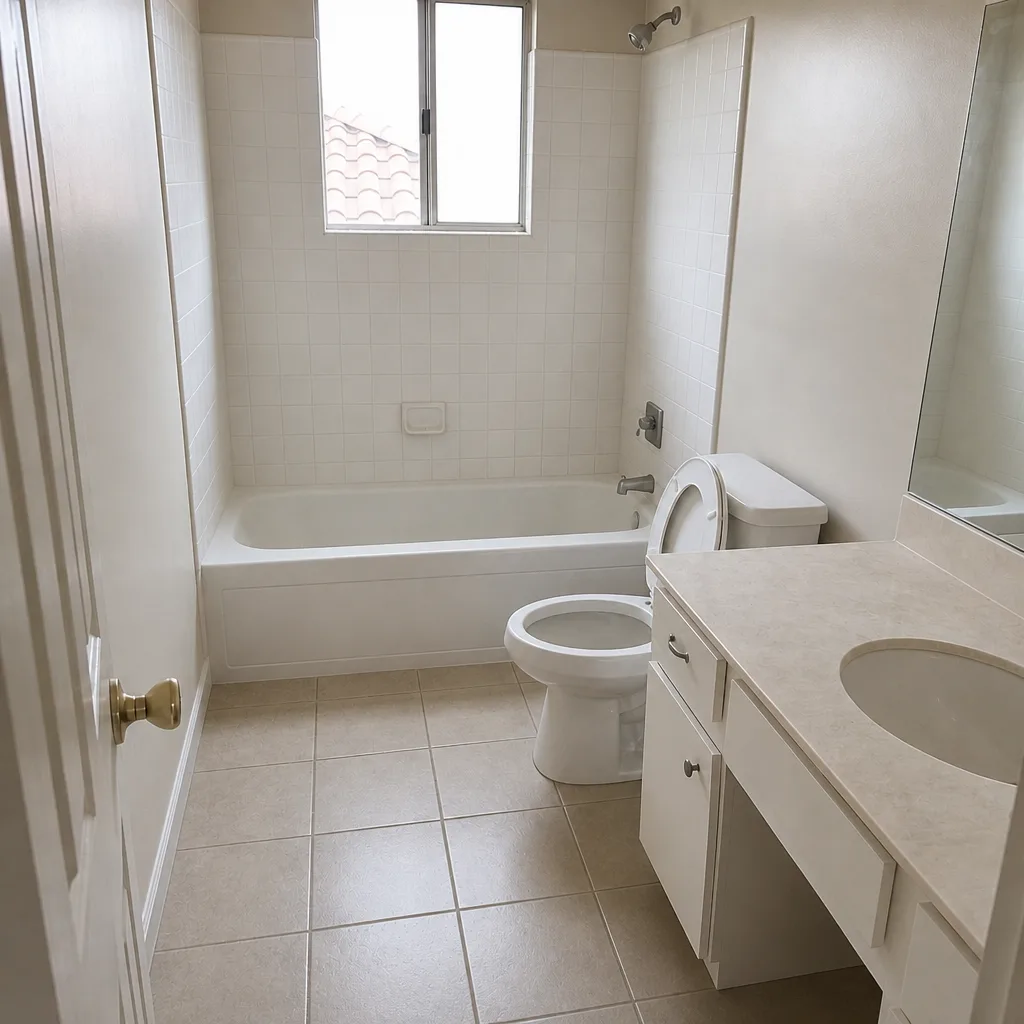 After
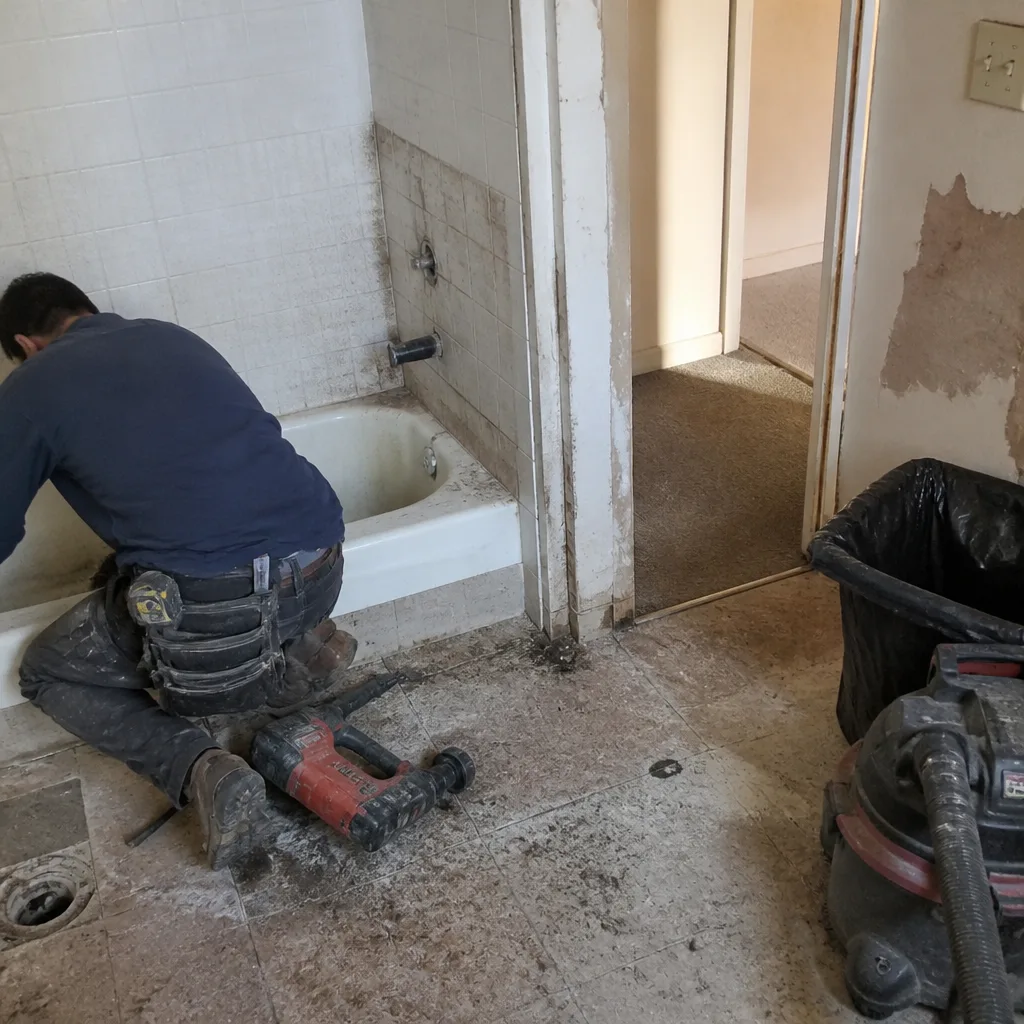 Before
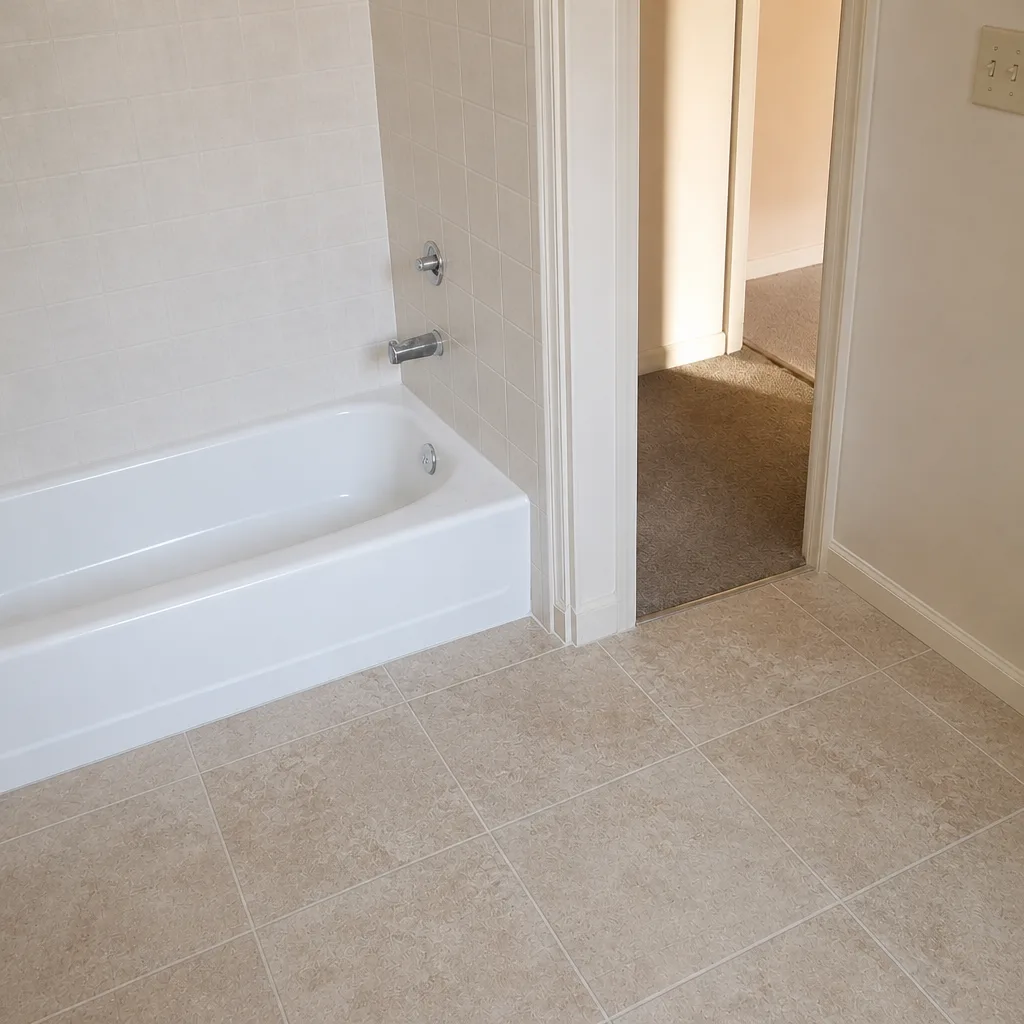 After
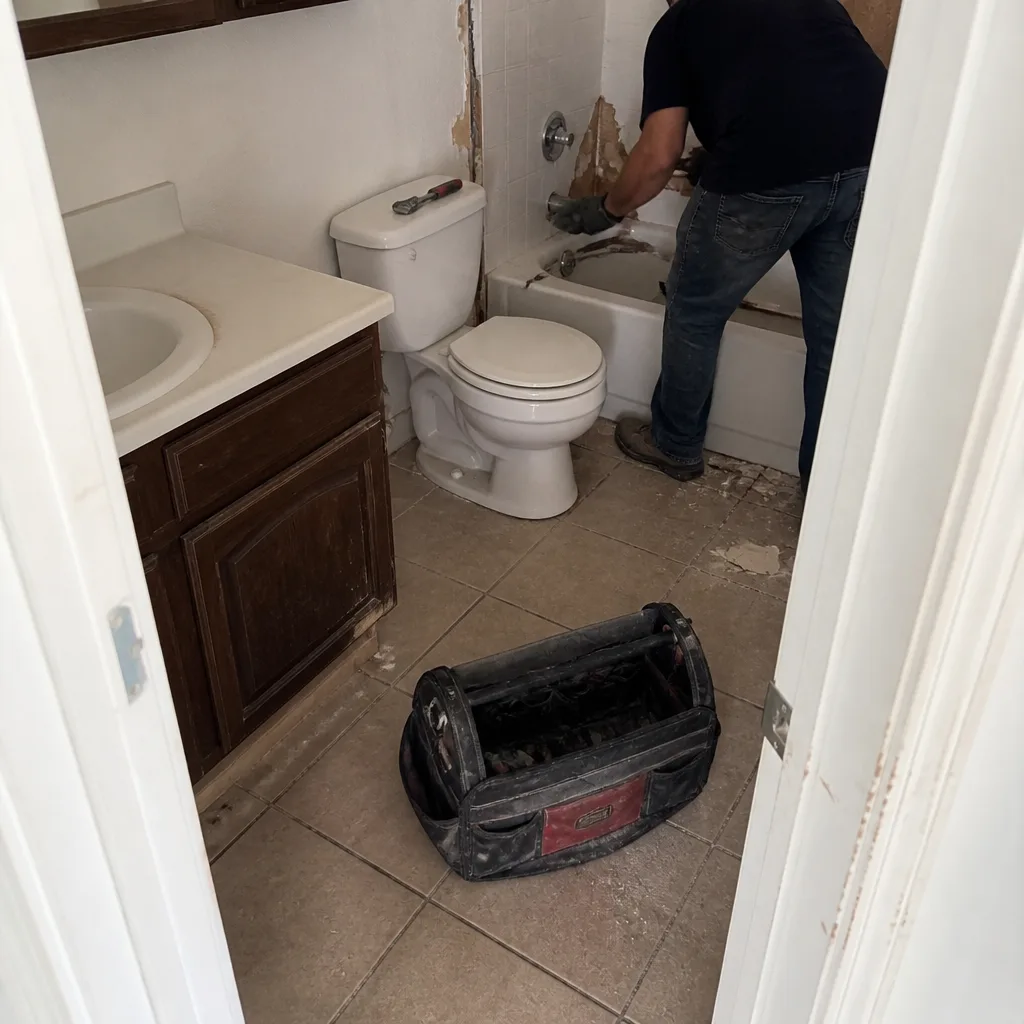 Before
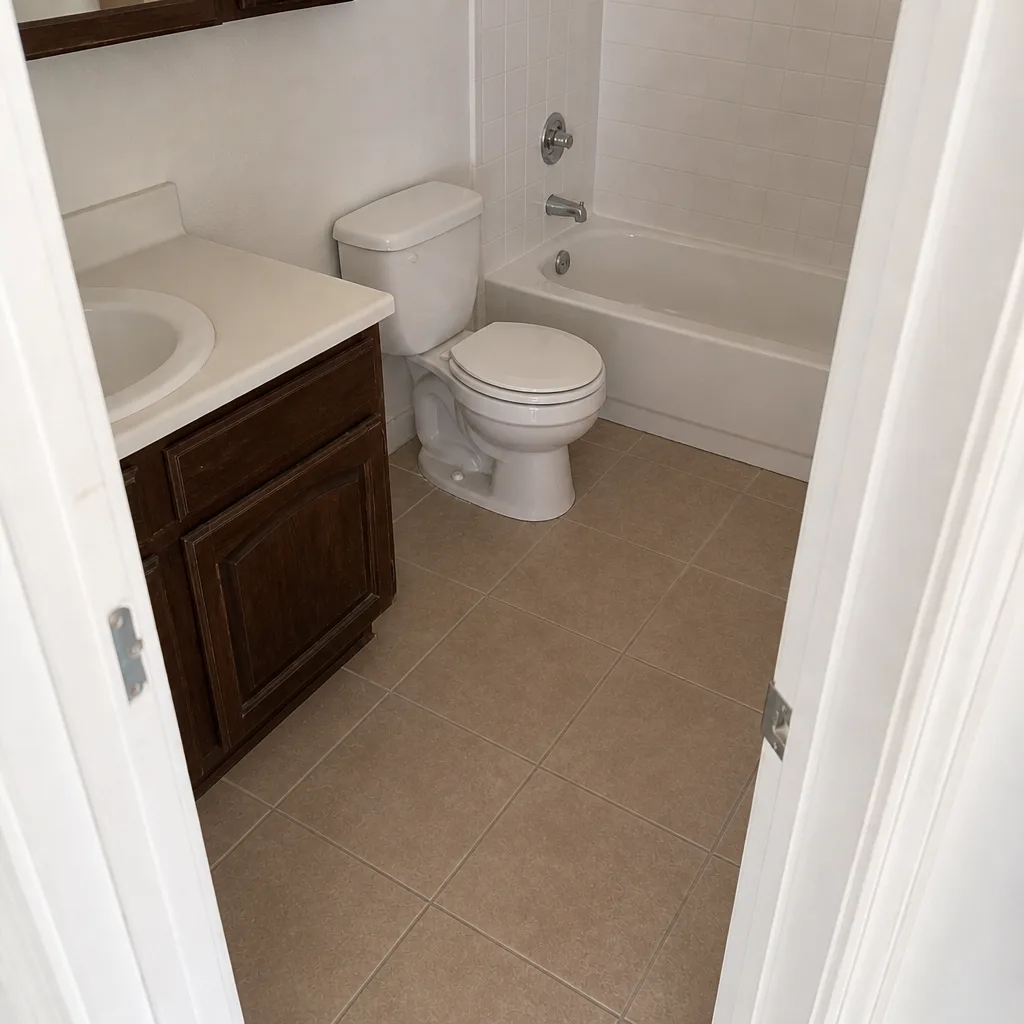 After
When to Call a Professional
Some tasks belong on your calendar. Others belong on ours. Call a professional when you find soft or hollow-sounding tile in a shower, when efflorescence keeps returning after cleaning, when you see staining or softness on drywall near failed caulk, when a shower base feels spongy underfoot, or when a remodel is coming up on the timeline where resealing and recaulking no longer cover the wear. If your fixtures are failing warranty-wise or the exhaust fan can’t be brought back with a cleaning, that’s also worth a call. These are the signals that a surface-level fix won’t hold. Bathroom Remodeling North Las Vegas offers free estimates in North Las Vegas – call (844) 834-0636. Our technicians have up to 9 years of experience, and we’ll give you an honest read on whether you’re looking at maintenance or a bigger project. All work is licensed and insured, with written line-item quotes and permits pulled where required.
Frequently Asked Questions

Once a year is the baseline, and you should test with a water drop every six months because hard water can mask a worn sealer. If water soaks into the grout instead of beading, reseal sooner. Penetrating sealers outperform film-forming ones in our dry climate. Call (844) 834-0636 for an exact quote on sealing or a full refresh – estimates are free.
Low humidity dries out flexible sealants and makes them brittle, so the bead cracks and pulls away from edges rather than turning black. Because there’s no discoloration, check for hardness and adhesion with your fingers rather than looking for mold. A cracked bead lets water behind the wall quietly. Call (844) 834-0636 if you find softness or staining near a failed joint.
Watch for efflorescence (chalky white haze on grout), hollow-sounding tiles, dampness at the base perimeter after showers, and staining or bubbling on the ceiling below or the wall behind. Any of those is a reason for a professional assessment rather than a cosmetic patch. Call (844) 834-0636 to schedule an inspection.
Yes – it’s the bi-annual task that prevents the most expensive moisture problem in a desert bathroom. A shower adds a lot of water vapor quickly, and a dust-loaded fan or one venting into the attic lets that moisture condense inside the walls. Clean the fan and run the tissue test twice a year. If it fails the test after cleaning, call us for a replacement.
Yes, and improper cleaners can void a warranty. Moen, Delta, American Standard, and Toto all publish care guidance specific to their finishes and coatings, and abrasive or bleach-based products can damage finishes and wear coatings. Stick to soft cloths, mild soap, and the manufacturer’s own care sheet. If you’re unsure about a fixture, call (844) 834-0636 and we’ll point you to the right care.
With this maintenance calendar followed consistently, a quality remodel stays sharp for 15-plus years. Skip it, and grout and caulk failures can force a regrout in as little as five years. The difference is mostly in these small, routine tasks – the waterproofing and installation quality matter too. Call (844) 834-0636 for a free estimate on a remodel built to last.
The Bottom Line
Your bathroom in North Las Vegas ages on a different clock than the national maintenance guides assume. Low humidity cracks your caulk rather than molding it, hard water makes annual grout sealing non-negotiable, and desert dust loads your exhaust fan faster than almost anything else. The schedule is straightforward: ten minutes monthly, the exhaust fan and airflow check twice a year, grout sealing annually, caulk evaluation twice a year with recaulking every three to five years, and quarterly checks on waterproofing signals. Fixture care follows the brand – Moen, Delta, American Standard, and Toto all have their own requirements, and following them protects your warranty. Do the work, and the remodel you invested in holds its finish. Skip it, and you’re paying for a regrout in five years. Call (844) 834-0636. We answer 24/7. Fast dispatch from 7am to 7pm, Sunday through Friday.
Written by the team at Bathroom Remodeling North Las Vegas.