Last updated November 18, 2026







Free in-home design visit - walk-in showers, tub-to-shower conversions, and Kohler, Moen, and Delta fixtures planned to your exact space
Bathroom Remodeling Troubleshooting in North Las Vegas: Common Problems and How to Fix Them
Here’s the part most homeowners learn too late: the problems that show up in a remodeled bathroom six or twelve months down the road usually weren’t caused after the job was finished. They were built in before the first tile ever went down. Cracked grout, a caulk seam that keeps peeling, shower pressure that feels weak on day one – these are symptoms of choices made at the planning and prep stage. In North Las Vegas, the desert climate and the valley’s hard water make those choices matter even more. This guide walks through the problems we see most often, the root causes behind them, and what to demand from any contractor before work starts so you’re fixing things on the front end instead of the back.
Quick Answer
Most bathroom remodeling problems in North Las Vegas trace back to four root causes: hard water attacking grout and fixtures, improper substrate prep under desert temperature swings, caulk failures being confused with waterproofing failures, and shared whole-home water pressure issues mistaken for fixture defects. Diagnosing which one you’re dealing with tells you whether you have a maintenance item on your hands or something the installer should fix. The right grout, sealant, and Schluter waterproofing specs decided upfront prevent most of it.
Styles & brands we work with
- Walk-in shower
- Tub-to-shower
- Freestanding tub
- Kohler
- Moen
- Delta
- Frameless glass
Table of Contents
- Why Las Vegas Hard Water Is Hard on Remodeled Bathrooms
- Which Grout and Sealant Specs Actually Hold Up
- Tile Lippage and Grout Cracking: Substrate Problems, Not Bad Tile
- Caulk Failure vs. Waterproofing Failure: How to Tell Them Apart
- Diagnosing Weak Shower Pressure Before You Call Anyone
- What Proper Warranty Documentation Should Cover
- Tub-to-Shower and Walk-In Conversion Troubles
- Common Mistakes to Avoid
Why Las Vegas Hard Water Is One of the Most Destructive Forces a Remodeled Bathroom Faces
Nevada’s hard water runs high – it averages around 282 ppm in the Las Vegas Valley – and it works on a bathroom every single day. That mineral load is what leaves the chalky white film on glass, the crust around faucet aerators, and the dull haze on a showerhead that used to spray hard. The damage is slow and cumulative, which is why so many North Las Vegas homeowners don’t connect the scaling they see at year two to the materials spec’d at install.
Hard water doesn’t just sit on surfaces. It reacts with cement-based grout, drawing minerals into the porous surface and locking them there. Over time the grout darkens, hardens, and begins to hairline-crack because the surface is being stressed from the inside out. Fixtures suffer a parallel fate: standard chrome and even some brushed finishes develop etching and spotting faster in high-mineral water than in softer parts of the country. In a North Las Vegas bathroom, this means the fixtures you choose and the way you seal the wet zone aren’t cosmetic decisions – they’re durability decisions.
Fewer than one in five remodel contracts mention hard water at all, and yet it’s the single biggest driver of callback complaints. What we ask homeowners to insist on before signing:
- A grout class appropriate for high-mineral water, not the cheapest cementitious option by default
- Sealers rated for wet zones, applied after full cure and re-applied on a schedule you’re told in advance
- Fixture finishes and valve cartridges chosen with hard water in mind, not just picked off a spec sheet
- A note in the contract on how the wet zone will be maintained and re-sealed
The good news is that the right choices at install reduce scaling and grout wear dramatically. This is where working with a bathroom remodeling North Las Vegas specialist pays off – someone whose entire job is bathrooms thinks about hard water as a design input, not an afterthought.
Which Grout and Sealant Specs Actually Hold Up Against Hard Water?
Epoxy grout and high-performance sealers hold up best against hard water because they resist mineral penetration far better than standard cementitious grout. If your remodel contract doesn’t specify grout class and sealer type, ask. The difference between a wet-zone grout that lasts ten years and one that fails in three is usually the spec, not the brand.
In our experience across North Las Vegas bathrooms, the failure pattern is consistent: a builder-grade cement grout with a single coat of surface sealer goes into a shower that sees daily hard water and fails within a few years. The fix isn’t a different tile – it’s a grout joint and sealer built for the water chemistry of the valley. When a spec is done right the first time, the homeowner isn’t re-grouting at year four.
What a durable wet-zone spec looks like
- Grout class: Specify epoxy or a high-performance cementitious grout rated for wet areas and chemical resistance, not standard sanded grout.
- Sealer: A penetrating sealer rated for high-mineral water, applied after full cure, with a documented re-application window.
- Joint width: Grout joints wide enough for a proper grout fill but tight enough to reduce surface area exposed to water – the tile size and layout drive this.
- Movement joints: Flexible sealant at corners and changes of plane instead of rigid grout, which cracks as the substrate moves.
- Fixture matching: Fixtures and trim designed to work with the grout line, not fight it, so water runs off rather than pooling.
None of this is exotic. It’s standard practice for a bathroom specialist. The trouble is that generalist contractors substitute cheapest-available materials because they don’t see the water chemistry as a variable. If your tile and grout are already installed and you’re seeing the early signs of scaling, a professional assessment tells you whether a re-seal is enough or the joint needs to come out.
Why Tile Lippage and Grout Cracking in Vegas Bathrooms Often Signal Bad Substrate Prep
Lippage – where one tile edge sits higher than its neighbor – is usually blamed on the tile or the installer’s eye. In most North Las Vegas cases we look at, it’s an underlayment problem. Desert temperature swings pull at subfloors throughout the year, and if the substrate wasn’t flattened and properly prepped before setting, the tile follows the movement. Grout cracks along the same lines, no matter how carefully it was finished.
Nevada’s desert swing between hot afternoons and cool nights works on a bathroom floor and wall differently than in a stable climate. A plywood subfloor that wasn’t screwed down and leveled, a cement board that was laid over a hump instead of flat, a wall stud that was out of plane and got tiled over – all of these telegraph into the tile after the seasons change. The result looks like “bad tile” or “bad grout,” but the tile is just doing what the surface beneath it is doing.
What proper substrate prep involves
- Flattening the floor to within tolerance before any underlayment goes down
- Securing the subfloor so it can’t flex underfoot
- Using an uncoupling membrane in areas where movement is likely – Schluter products are what we specify because the membrane isolates tile from subfloor movement
- Checking studs for plane and correcting before backer board, not after
- Waterproofing the wet zone correctly at the substrate layer, tied into the drain and corners
If you’re already looking at lippage or grout cracks, the first question to ask is what underlayment went in and whether a membrane was used. If the answer is “I don’t know” or “plywood and backer board,” you’ve likely found your root cause. It’s not a grout problem – it’s a substrate problem that will keep returning until it’s addressed. This is also the reason a walk in shower build benefits from a specialist who builds the surface right the first time.
Caulk Failure at the Tub Surround vs. Waterproofing Failure Behind the Wall
A caulk seam that peels at the tub surround is a maintenance issue. Water getting into the wall behind the tile is a contractor accountability issue. They look similar at first – discoloration, a soft spot, a smell – but they’re treated very differently, so diagnosing which one you have before you call anyone saves you money and an argument.
Here’s how we tell them apart. Caulk failure shows up at the seam itself: the caulk pulls away from the tub or wall, mildew starts in the gap, or you can press a fingernail into the bead and feel it release. The tile behind it is solid. Waterproofing failure shows up further out: grout lines near the bottom of the shower darken and don’t lighten, the base of the wall feels soft, the sheetrock behind the surround is crumbly when probed, or you see efflorescence (white mineral deposits) migrating through the grout. In a North Las Vegas climate those signs can appear faster than in a humid zone because the surrounding air is dry, so the wet spot never fully dries unless the source is stopped.
Diagnosing which one you have
- Check the seam gap: if it’s the caulk itself pulling away, that’s a maintenance item and can be cut out and redone.
- Look for dark grout lines near the bottom of the wet zone that don’t lift with cleaning – a sign of moisture behind the tile.
- Press the wall: soft or crumbling drywall means the problem is deeper than the caulk line.
- Check the shower pan edges and corner for movement joints that were grouted when they should have been sealed with flexible caulk.
- If you can’t determine the boundary, a professional look at the wet zone settles it in minutes.
The reason this distinction matters: caulk failure is on you as maintenance. Waterproofing failure is on the installer, and the right warranty should cover it. That’s why we specify Schluter waterproofing systems under the tile – the accountability is built into the spec, not left to a surface caulk bead to hide. If you’re in Whitney or across North Las Vegas and you’re seeing these signs, the sooner the source is diagnosed, the more of the tile work can be saved.
How to Diagnose Weak Shower Pressure Before You Call Anyone
Weak shower pressure has three likely causes: a restrictive flow limiter in the fixture, a supply line problem, or a whole-home water pressure issue. You can narrow it down yourself with a couple of simple observations, and knowing which one you have before a professional arrives means the fix happens on the first visit instead of the third.
Start by comparing the shower to the kitchen sink. If the sink runs strong and the shower is weak, the issue is local to the shower head, valve, or supply run. If both are weak, it’s whole-home. That single comparison cuts your diagnosis in half. From there:
- Fixture flow restrictor: Most showerheads have a flow restrictor built in. Hard water can scale it up and reduce flow over time. Removing it, or choosing a fixture designed for the flow you want, resolves it – which is why brand and model selection matters. Grohe and Kohler models vary significantly in how they handle flow at low system pressure.
- Supply line problem: A clogged cartriage, a partially closed valve, or a kinked line behind the wall restricts flow. If the pressure is weak only in the shower and only at certain temperatures, this is the likely culprit.
- Whole-home water pressure: Nevada systems can vary block to block. If other fixtures in the house are also weak, the question becomes whether the incoming pressure at the meter is adequate. A pressure reading at an outdoor spigot or from the utility tells you in minutes.
- Run the kitchen sink – strong or weak?
- Run the shower with the head off – if flow improves, the head is the restriction.
- Run a separate bathroom fixture – same weakness or only the shower?
- If the shower head is over a few years old in Las Vegas hard water, scale buildup is a real possibility.
- If the issue is behind the wall or the whole home, a professional diagnosis avoids opening unnecessary walls.
Getting the fixture and valve spec right at install is what prevents weak-pressure complaints in the first place. Choosing from a real brand portfolio – Sterling, Moen, Grohe, Kohler – means you can match the fixture to your actual flow needs, rather than accepting whatever the contractor spec’d by default.
What Proper Warranty Documentation Should Cover (and How to Use It)
Warranty coverage is only useful if it’s written down before the job starts. A remodel contract should specify what’s covered, for how long, and specifically how a claim is handled – including whether the installer comes back for free or billable. Without that, a legitimate waterproofing claim becomes a negotiation instead of a repair.
Homeowners in North Las Vegas often ask what to look for in warranty language. Here’s what a real warranty needs to do:
- Name the covered components: Waterproofing membrane, substrate, tile installation, fixture installation – each with its own written window.
- Separate maintenance items from workmanship items: Caulk re-sealing is maintenance; failing waterproofing is workmanship. The warranty should say which is which.
- State the remedy: A repair, a re-install, or a re-inspection with written findings. Vague “we’ll make it right” language isn’t a warranty.
- Transfer with the home: If the bathroom is remodeled before a sale, a transferable warranty is a real value item.
- Sign and date it: A warranty that isn’t signed and dated is a suggestion, not a warranty.
We handle warranty claims in writing because the moment you need it, the argument you’re trying to avoid is about what “should have worked.” If the waterproofing, grout spec, and tile install were documented, that argument doesn’t happen. A written line-item quote at the start and a clear warranty at the finish are what make the difference between patching and actually fixing.
Tub-to-Shower and Walk-In Conversion Troubles: Where They Usually Go Wrong
Tub-to-shower conversions and walk-in installations fail in predictable places: drainage that wasn’t re-sloped, waterproofing that got value-engineered under the pan, and accessibility upgrades that weren’t matched with the right fixtures. A conversion is a rebuild of the wet zone, not a swap of one fixture for another, and treating it as the latter is where most problems start.
When the tub comes out, the drain location has to be reworked, the floor has to be re-sloped to the new pan, and the waterproofing has to be tied into the new geometry. Homes in North Las Vegas present their own quirks – some older slabs and framed floors don’t drain the way the original tub did once the shower pan is built. Skipping the slope correction shows up later as standing water and a soft floor at the edges.
What a properly built conversion includes
- Confirm the drain re-slope and pan geometry before the tile goes in
- Specify a proper waterproofing membrane tied into the drain assembly – Schluter systems are what we specify because the layers tie cleanly
- Choose fixtures that match the new shower head height, valve access, and flow needs – not reused tub-era hardware
- Include grab bar blocking at the correct heights behind the tile, even if you don’t install the bars today
- Document the install and warranty for the conversion as its own scope
Accessibility upgrades are where the fixture choice matters most. A walk-in shower that meets a homeowner’s actual reach, height, and flow needs is a far better result than one built for looks alone. Grohe and Toto are often specified at this tier for exactly that reason. When a homeowner is making a lifestyle upgrade, the work needs to be planned as a bathroom remodeling scope, not a piecemeal fixture change.
Common Mistakes to Avoid
- Accepting the cheapest grout and sealer on the spec sheet. In Las Vegas hard water, entry-level cementitious grout and a single coat of surface sealer is a short lifespan. Ask for the grout class and re-seal window in writing.
- Skipping the substrate flattening to save a day. The substrate is invisible after install and it’s the single biggest driver of lippage and grout cracking. Don’t let the schedule push the flattening out of the plan.
- Assuming every leak is a caulk problem. Caulk failure stays at the seam; waterproofing failure lives behind the wall. Diagnosing the wrong one means you re-caulk forever while the real problem spreads.
- Spec’ing fixtures before checking water pressure. A beautiful shower head on an underpressured system is a disappointment. Read the pressure before choosing the fixture.
- Treating a tub-to-shower conversion as a fixture swap. It’s a wet-zone rebuild. Drain re-slope, pan waterproofing, and blocking matter more than the tile color.
- Not documenting the warranty before the job starts. A warranty you can’t point to in writing isn’t enforceable. Get the covered items, windows, and remedies in the contract.
- Letting a generalist pick your fixture brand portfolio. When the contractor’s only option is what the local supplier stocks, you get what’s easy, not what’s right. A specialist can match from Sterling to Grohe.
See the difference
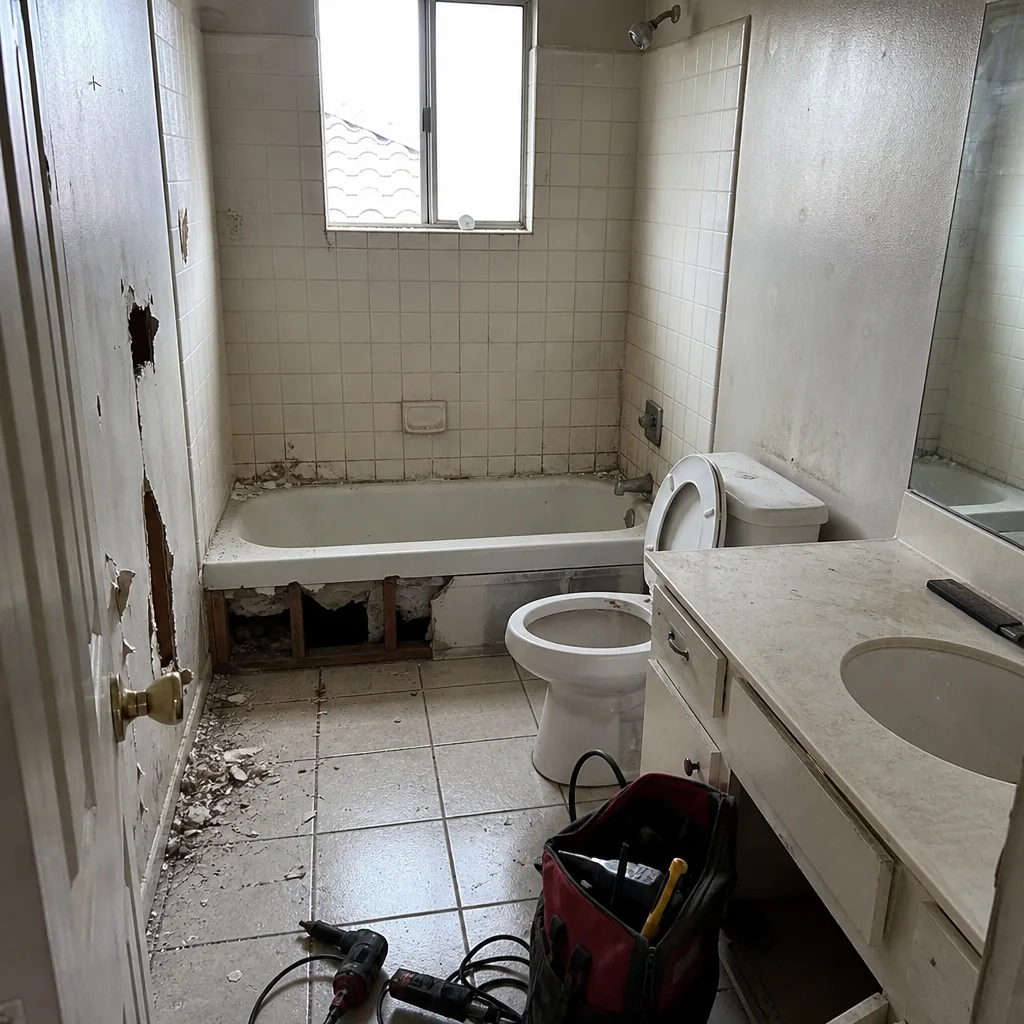 Before
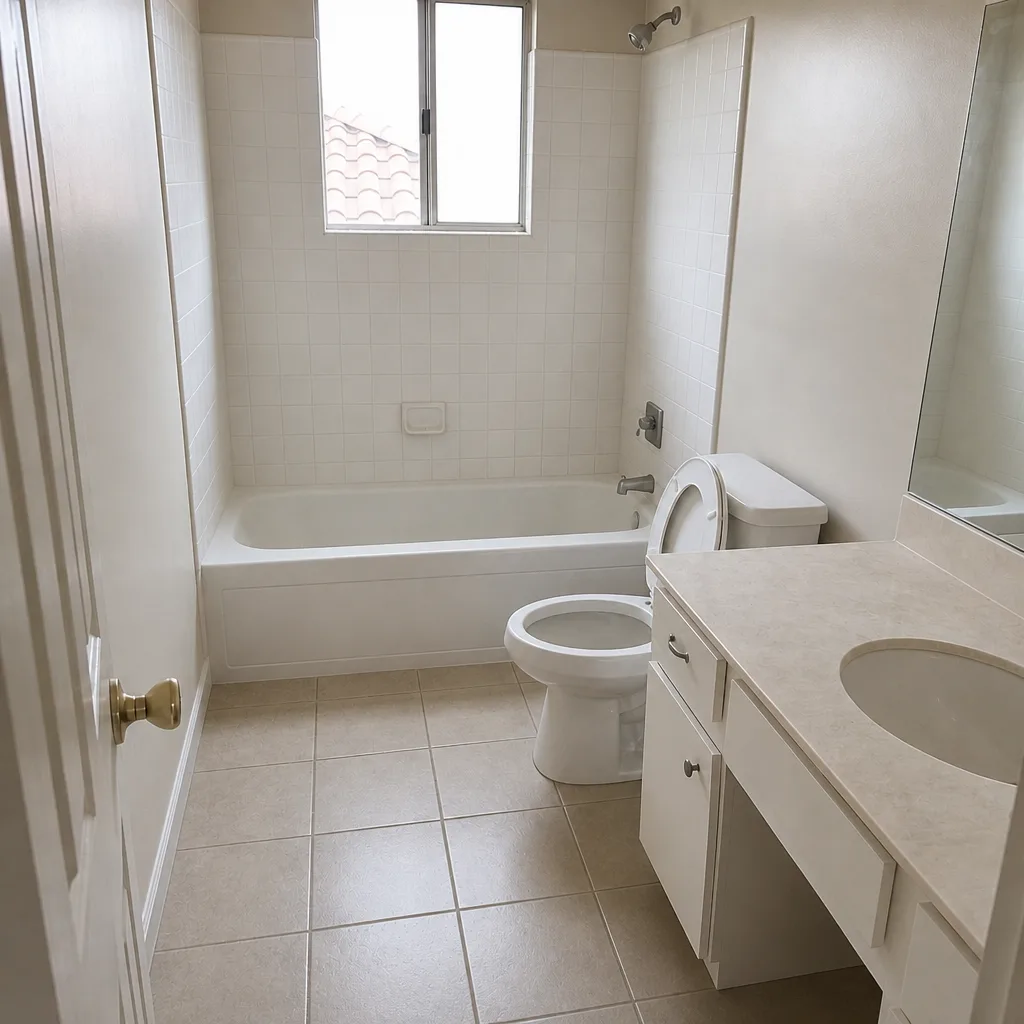 After
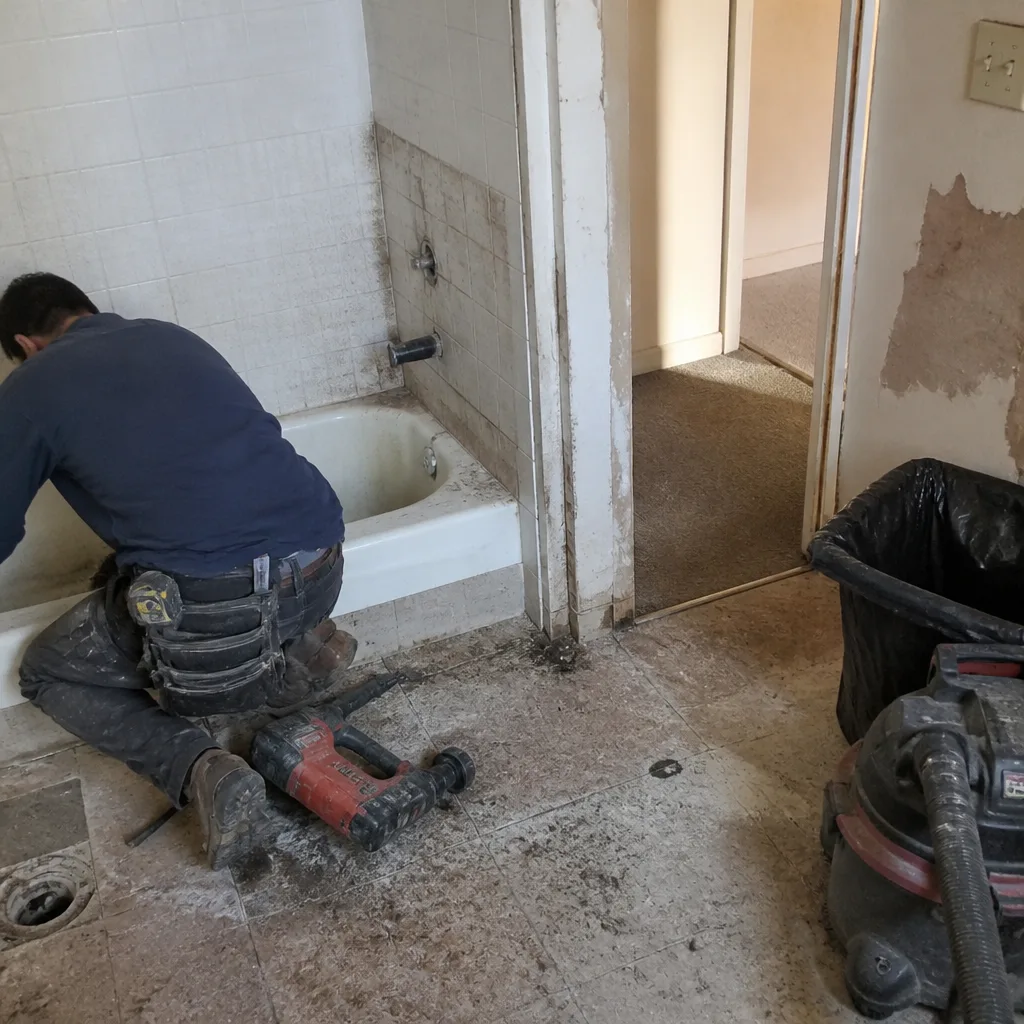 Before
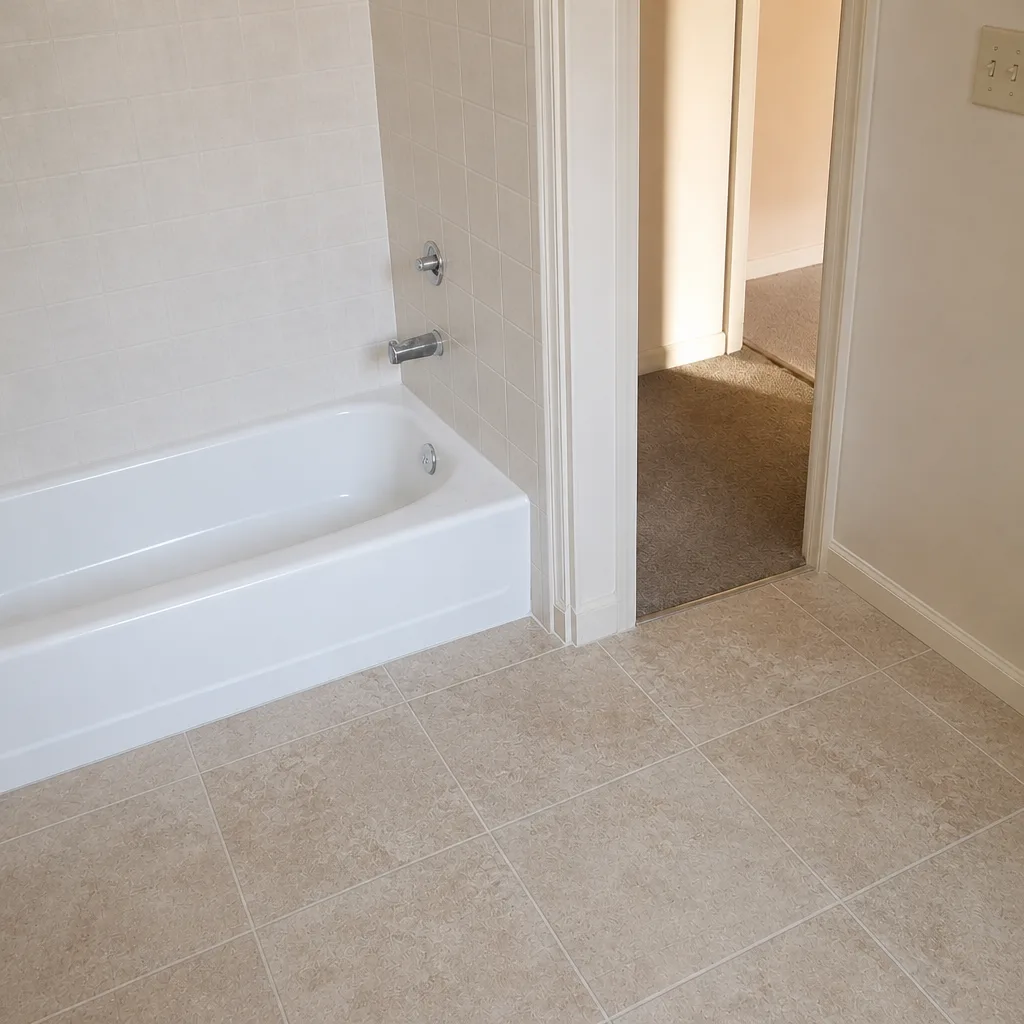 After
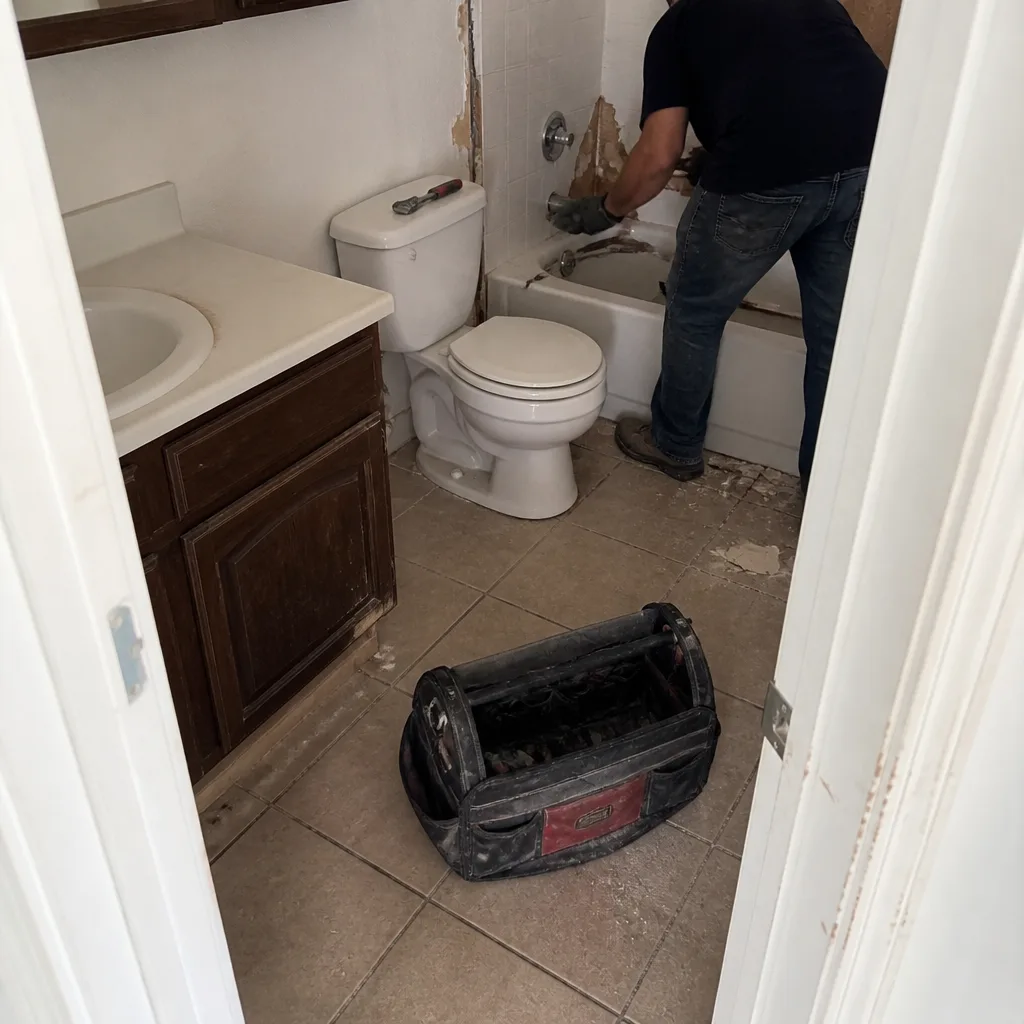 Before
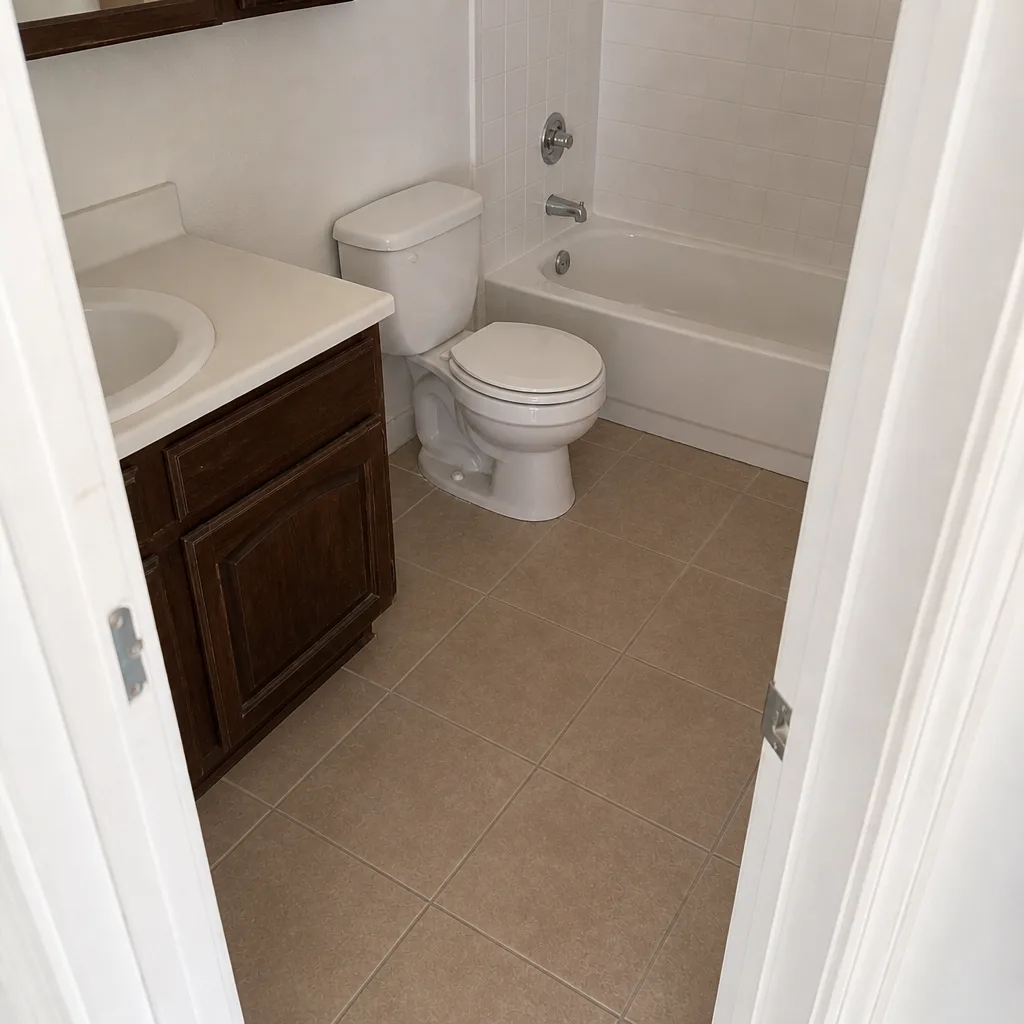 After
When to Call a Professional
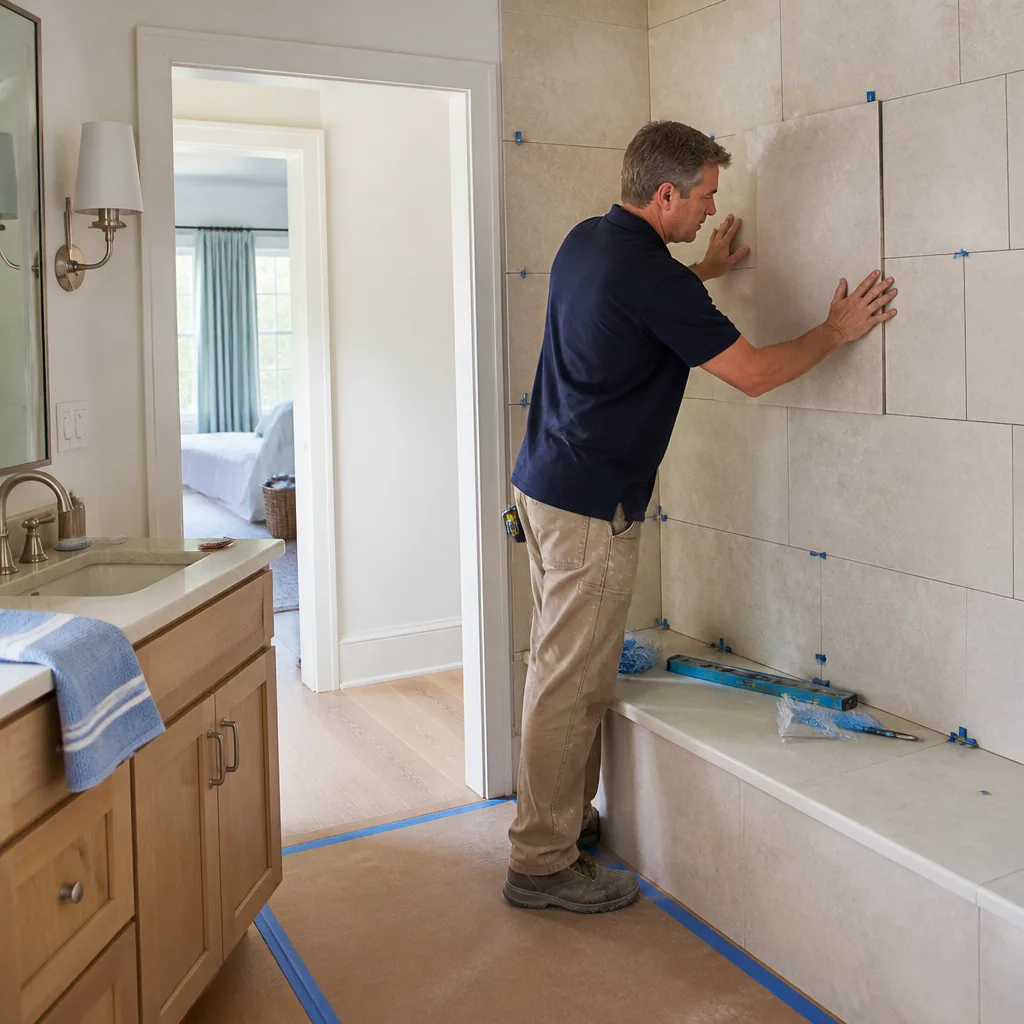
Call a professional when the problem is behind the tile, under the pan, or on the wrong side of a warranty line. Specifically: grout lines near the bottom of the shower that darken and don’t lift with cleaning; a wall that feels soft or crumbly behind the surround; standing water in a converted shower; pressure that dropped after a remodel or that affects multiple fixtures; lippage that has appeared since install; or any situation where the contract’s warranty language is unclear about who is responsible. These aren’t DIY fixes in the sense of a homeowner buying a tube of caulk – diagnosing them wrong is how a small leak becomes a mold-and-tear-out job.
Bathroom Remodeling North Las Vegas offers free estimates in North Las Vegas – call (844) 834-0636. We answer 24/7. Fast dispatch from 7am to 7pm, Sunday through Friday.
Frequently Asked Questions
Grout deterioration from hard water is the most common, followed by caulk failures at tub surrounds and shower pressure complaints. Las Vegas Valley water averages around 282 ppm, which accelerates mineral buildup on grout and fixtures. The fix at install is the right grout class and sealer spec – not patching later. Call (844) 834-0636 for a free estimate if you’re pricing a bathroom.
No. Cracked grout is often a substrate problem, not a tile problem. In North Las Vegas, desert temperature swings move the subfloor and walls through the year, and if the surface wasn’t flattened and properly secured before tile went down, the grout cracks along the movement lines. A professional check of the underlayment tells you whether it’s a grout re-do or a deeper fix.
Caulk problems stay at the seam: the bead pulls away, mildew starts in the gap, the tile behind it feels solid. Waterproofing problems show up further out: dark grout lines near the bottom of the shower that don’t clean up, soft drywall behind the tile, or white mineral deposits migrating through the grout. If you’re not sure, a professional look settles it, and the sooner you call, the more tile can be saved.
There are three common causes: a flow restrictor in the new fixture, a supply line problem behind the wall, or a whole-home pressure issue. Compare the shower to the kitchen sink – strong there, weak in the shower points to a local cause. Call (844) 834-0636 and we’ll help you sort out which it is before opening any walls.
Only if the warranty is written, signed, and it names the covered components – waterproofing, tile install, and fixture install each with its own window. Ask for the covered items and the remedy in writing before the job starts. A warranty that doesn’t say who pays for a waterproofing repair isn’t a warranty, just a promise. Free estimates in North Las Vegas are available; call (844) 834-0636.
Epoxy grout and high-performance sealers hold up best against hard water because they resist mineral penetration far better than standard cementitious grout. If you’re working with a contractor spec, ask for the grout class and sealer type in writing. The grout choice matters as much as the tile choice in this climate, and it should be a planned decision, not a substitution.
The Bottom Line

Most bathroom remodel problems that surface after the job is done trace back to decisions made before the first tile went down – not bad luck after the fact. In North Las Vegas, that means taking hard water seriously from the planning stage, specifying grout and sealer for the water chemistry, flattening and securing the substrate before tile, distinguishing caulk failures from waterproofing failures, diagnosing pressure correctly, and getting a written warranty before work begins. None of this is exotic, and all of it is what a bathroom specialist sets up by default. If you’re planning a remodel or troubleshooting one that’s already done, a free estimate is the fastest path to knowing which fix you’re looking at. Call (844) 834-0636. We answer 24/7. Fast dispatch from 7am to 7pm, Sunday through Friday.
Written by the team at Bathroom Remodeling North Las Vegas.